Janome Embroidery Machine
Janome sewing/embroidery machine horizon memory craft 15000 is used in the Labs.
The following guide explains how to use the embroidery machine, along with the relevant steps one has to take. The guide assumes that you have already installed inkscape.
Inkscape Plugin Requirements
Ink/Stitch is an Inkscape plugin. Which means you have to have Inkscape installed in order to continue with the tutorial.
Click on install ink/stitch -> Ensure that you download the proper plugin for your respective laptop OS. Once you have downloaded the file and went through the installation prompt - you would want to restart Inkscape.
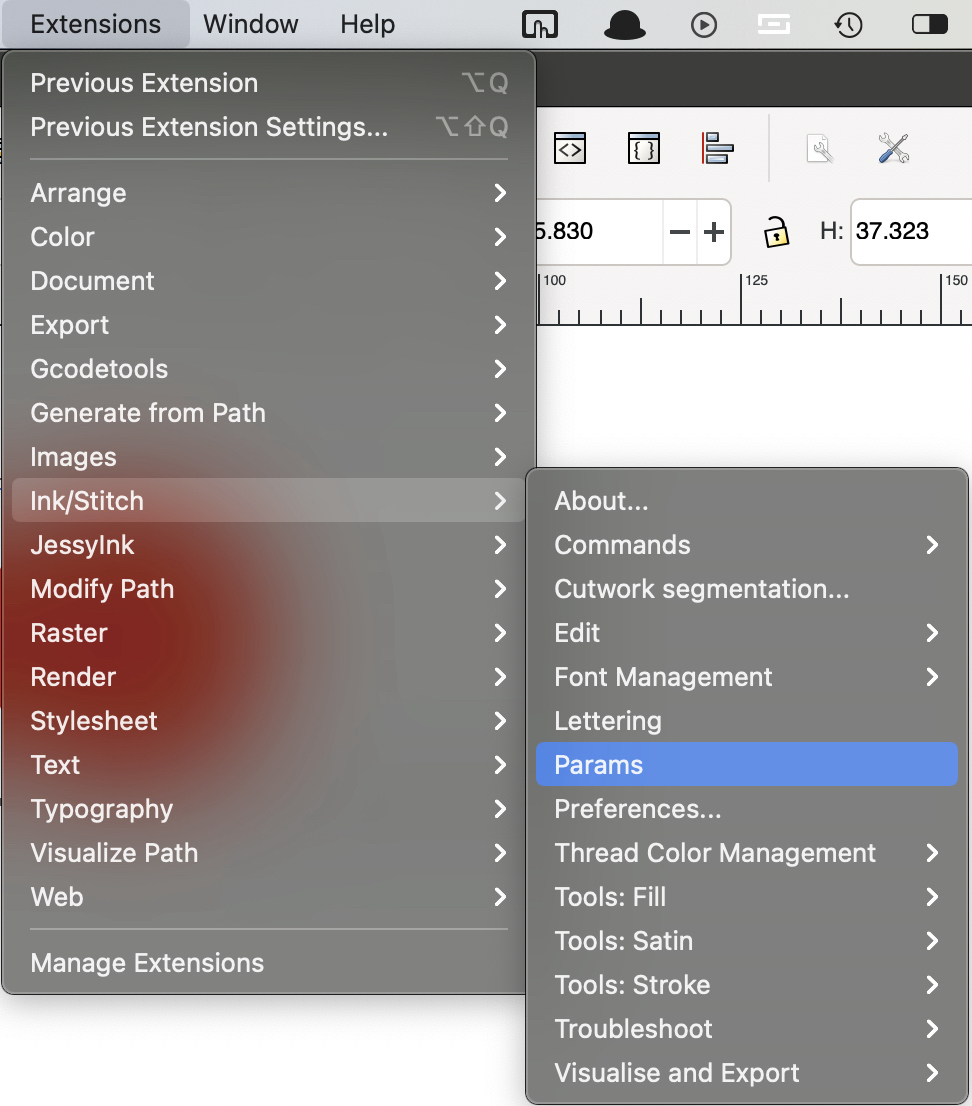
To know that the plugin was installed properly you can find the extension under Extensions > Ink/Stitch and nothing is grayed out.
NOTE:
-
If you get an error message saying that Ink/Stitch can’t open that means you need to restart Inkscape.
-
If you don’t already have Inkscape installed on your computer, click here to download and install.
Getting started with Ink/Stitch
To do your first embroidery, we are going to start with a simple shape with a one color stitch.
-
Define the workspace (File > Document Properties) to the hoops capacity.
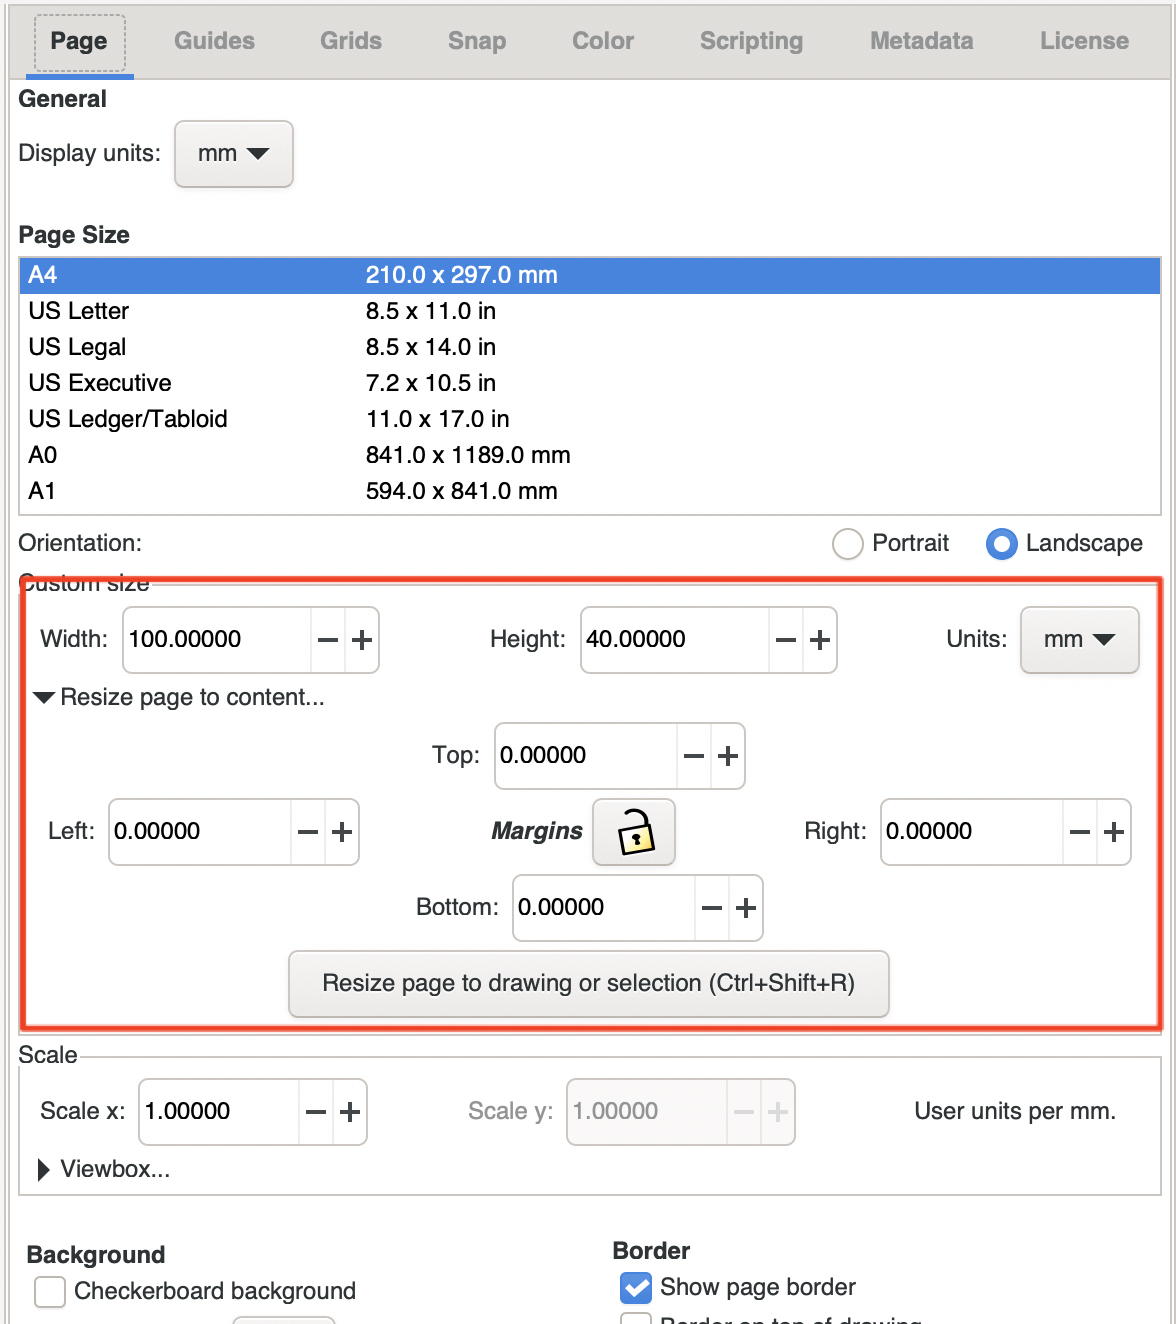
Hoop Size (workspace) in mm Hoop name 140 x 140 SQ14 230 x 230 SQ23 230 x 300 GR 100 x 40 FA10 220 x 220 ASQ22 - Draw a shape (circle, square, retangle or any other shape is fine).
- Convert the shape to a path (Path > Object to Path).
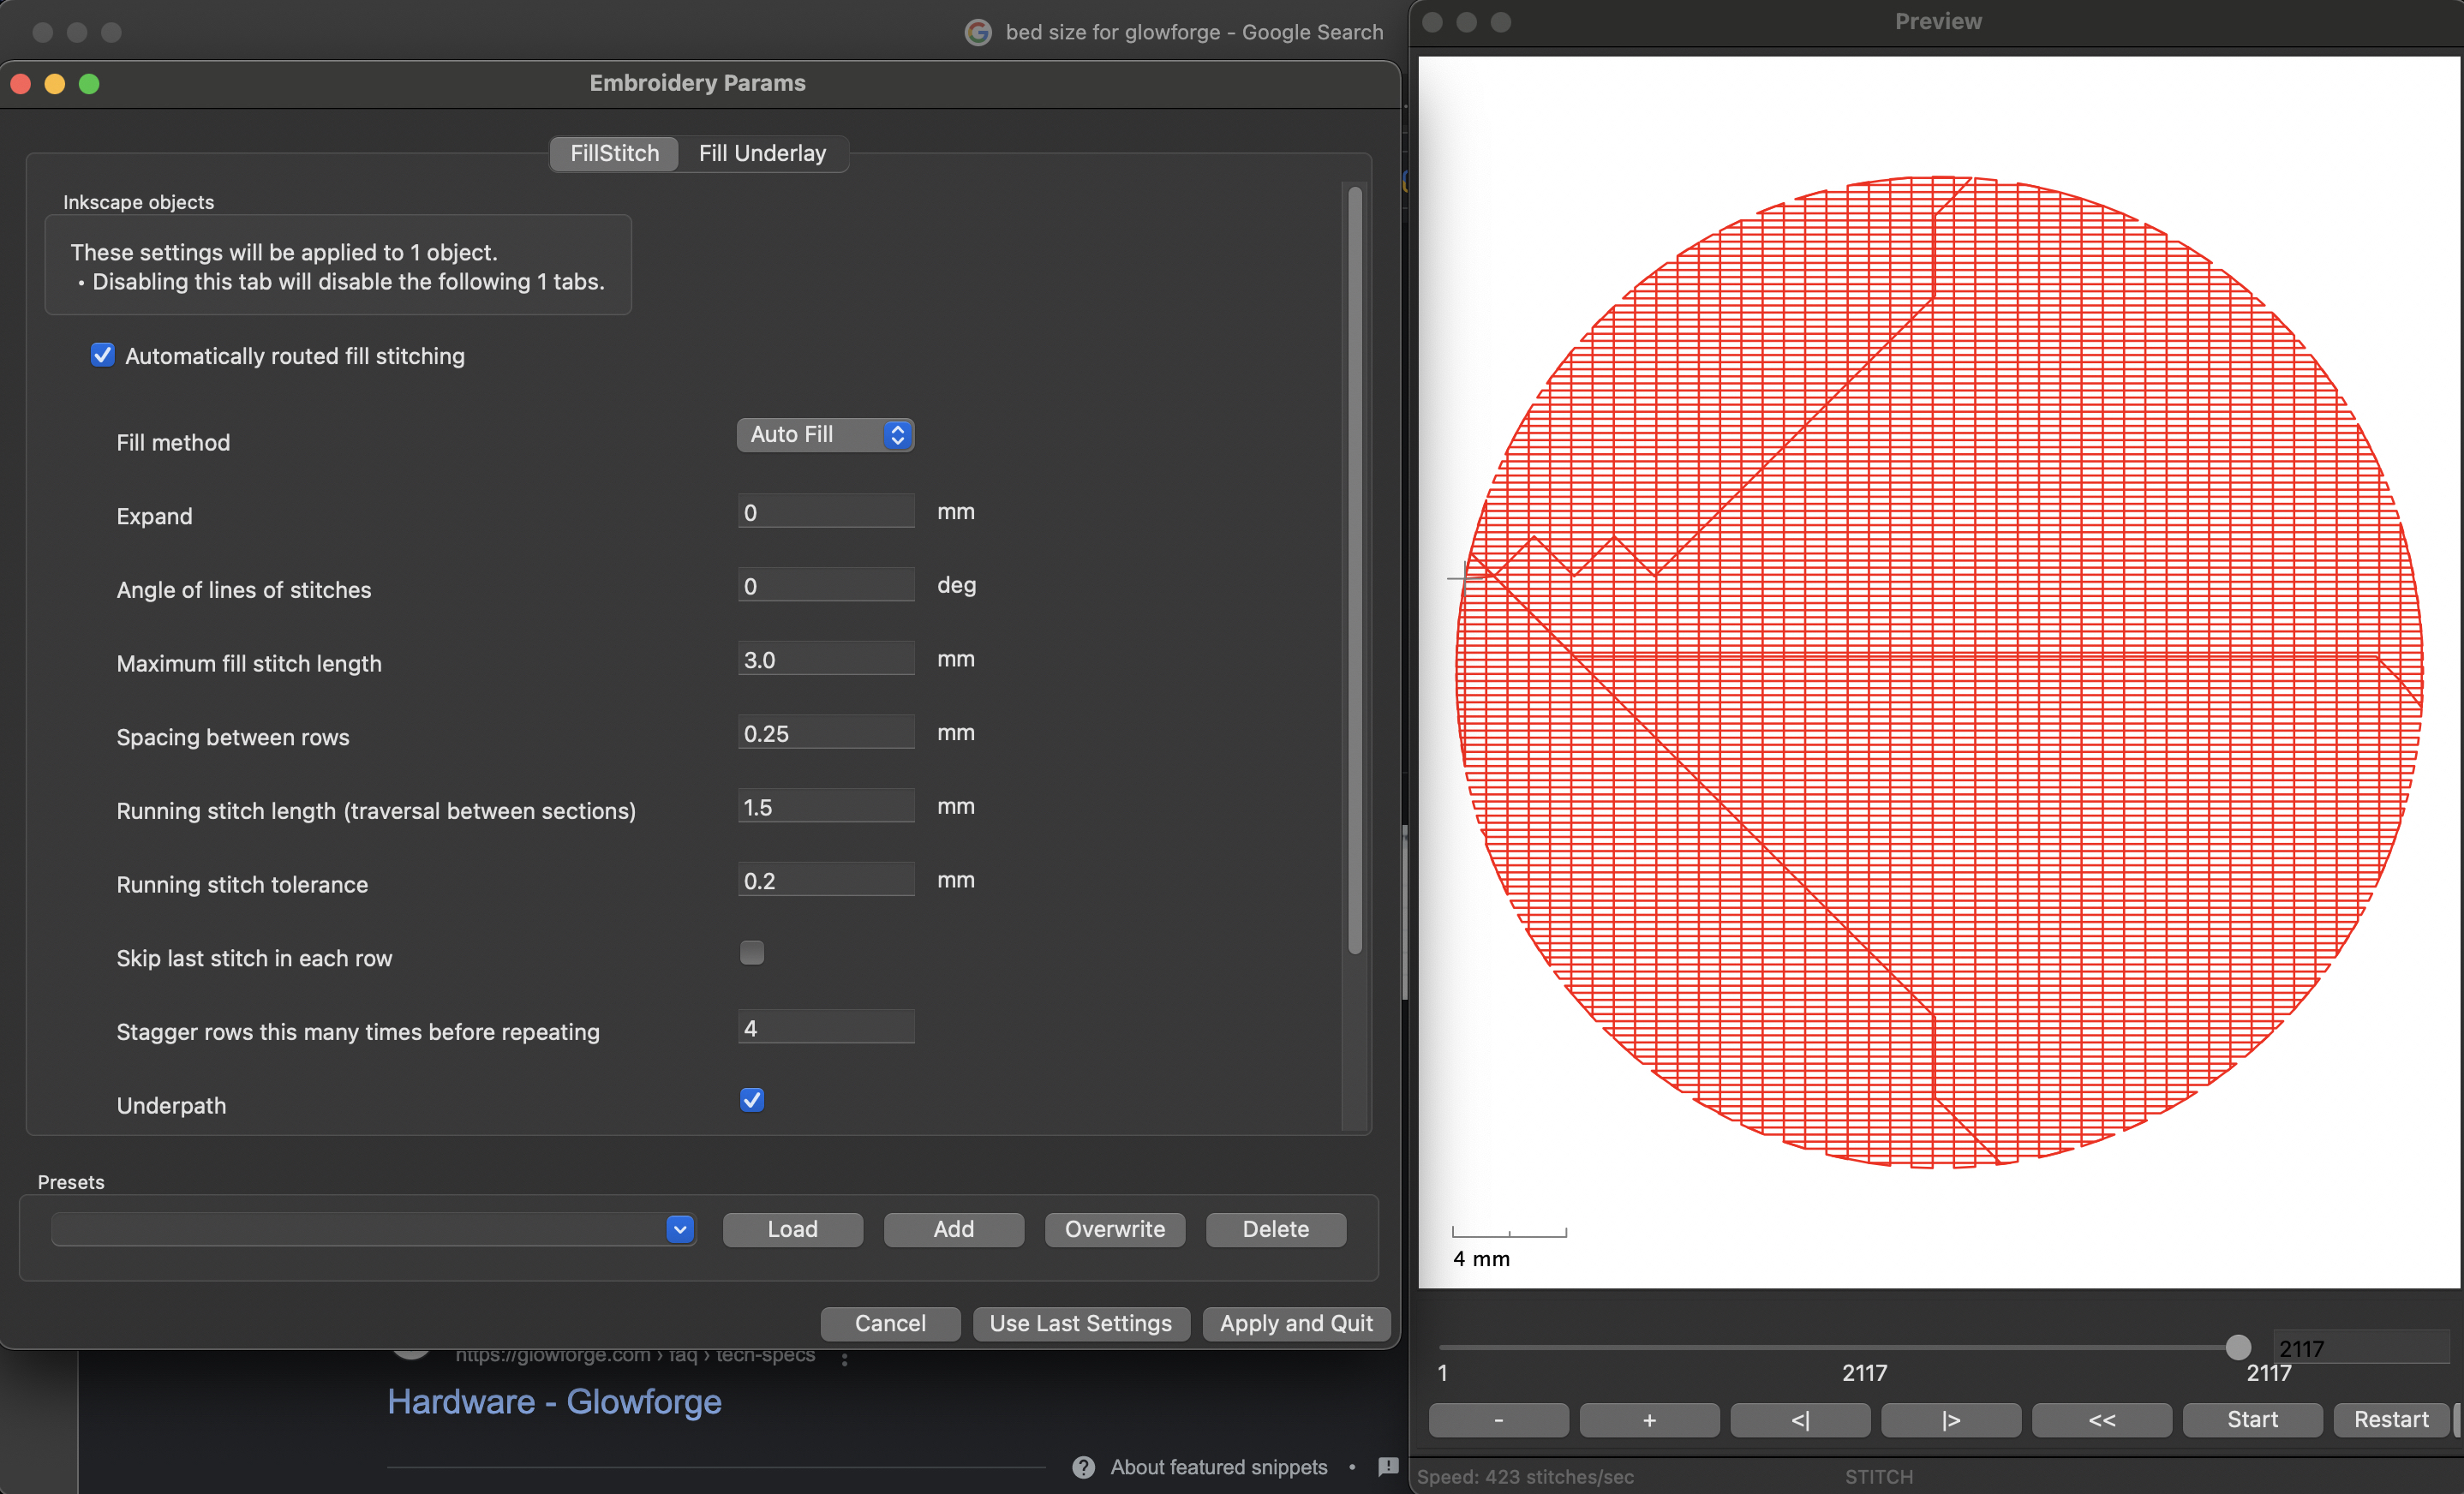
- With the newly created path, you want to run Params (Extensions > Ink/Stitch > Params) you will see the simulation pop up, and it will update as you change the values in the params. After you are done updating the numbers click on Apply and Quit.
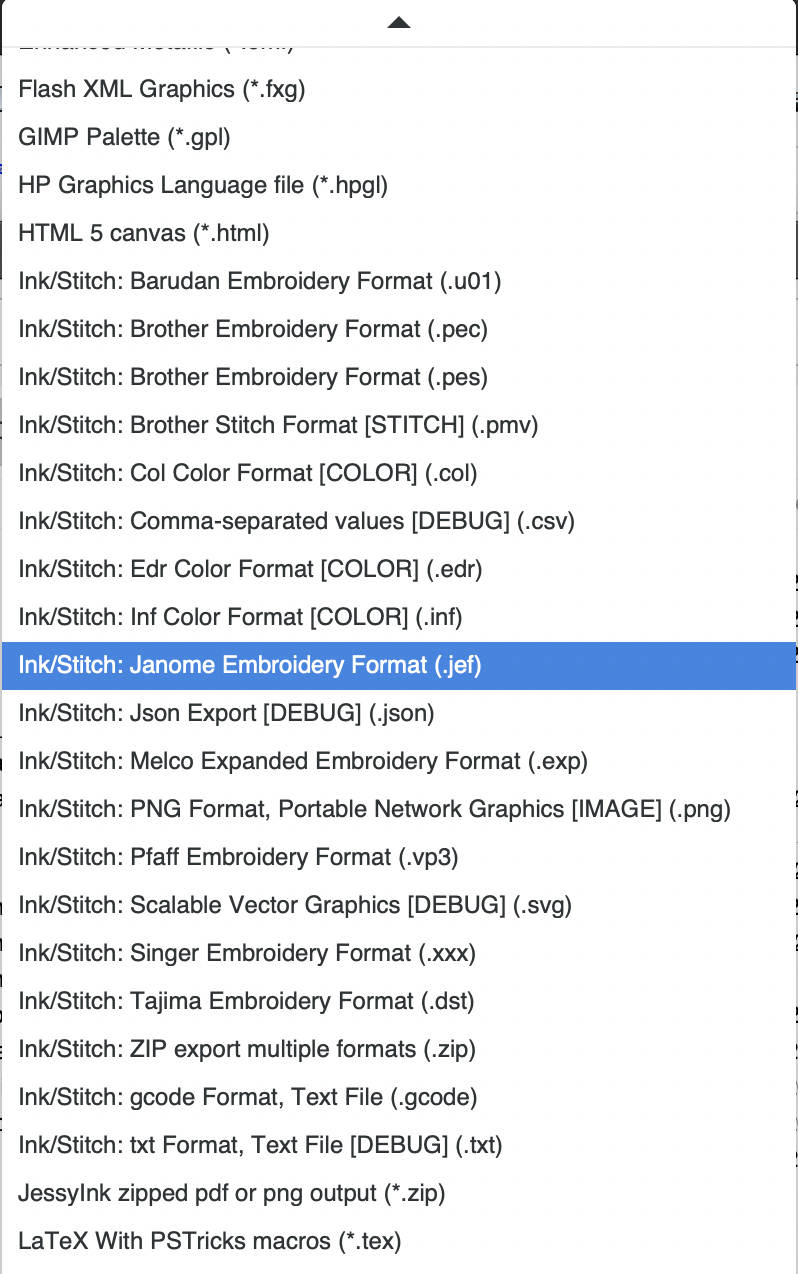
- Save file as a .jef (Janome Embroidery Format) file - copy to a USB drive.
💡TIP: Build your drawing in layers. Fill pattern at the bottom and then work on a new layer.
Using the Embroidery Machine
- Check if the machine is threaded properly.
- Plug in your USB located at the right side of the machine.
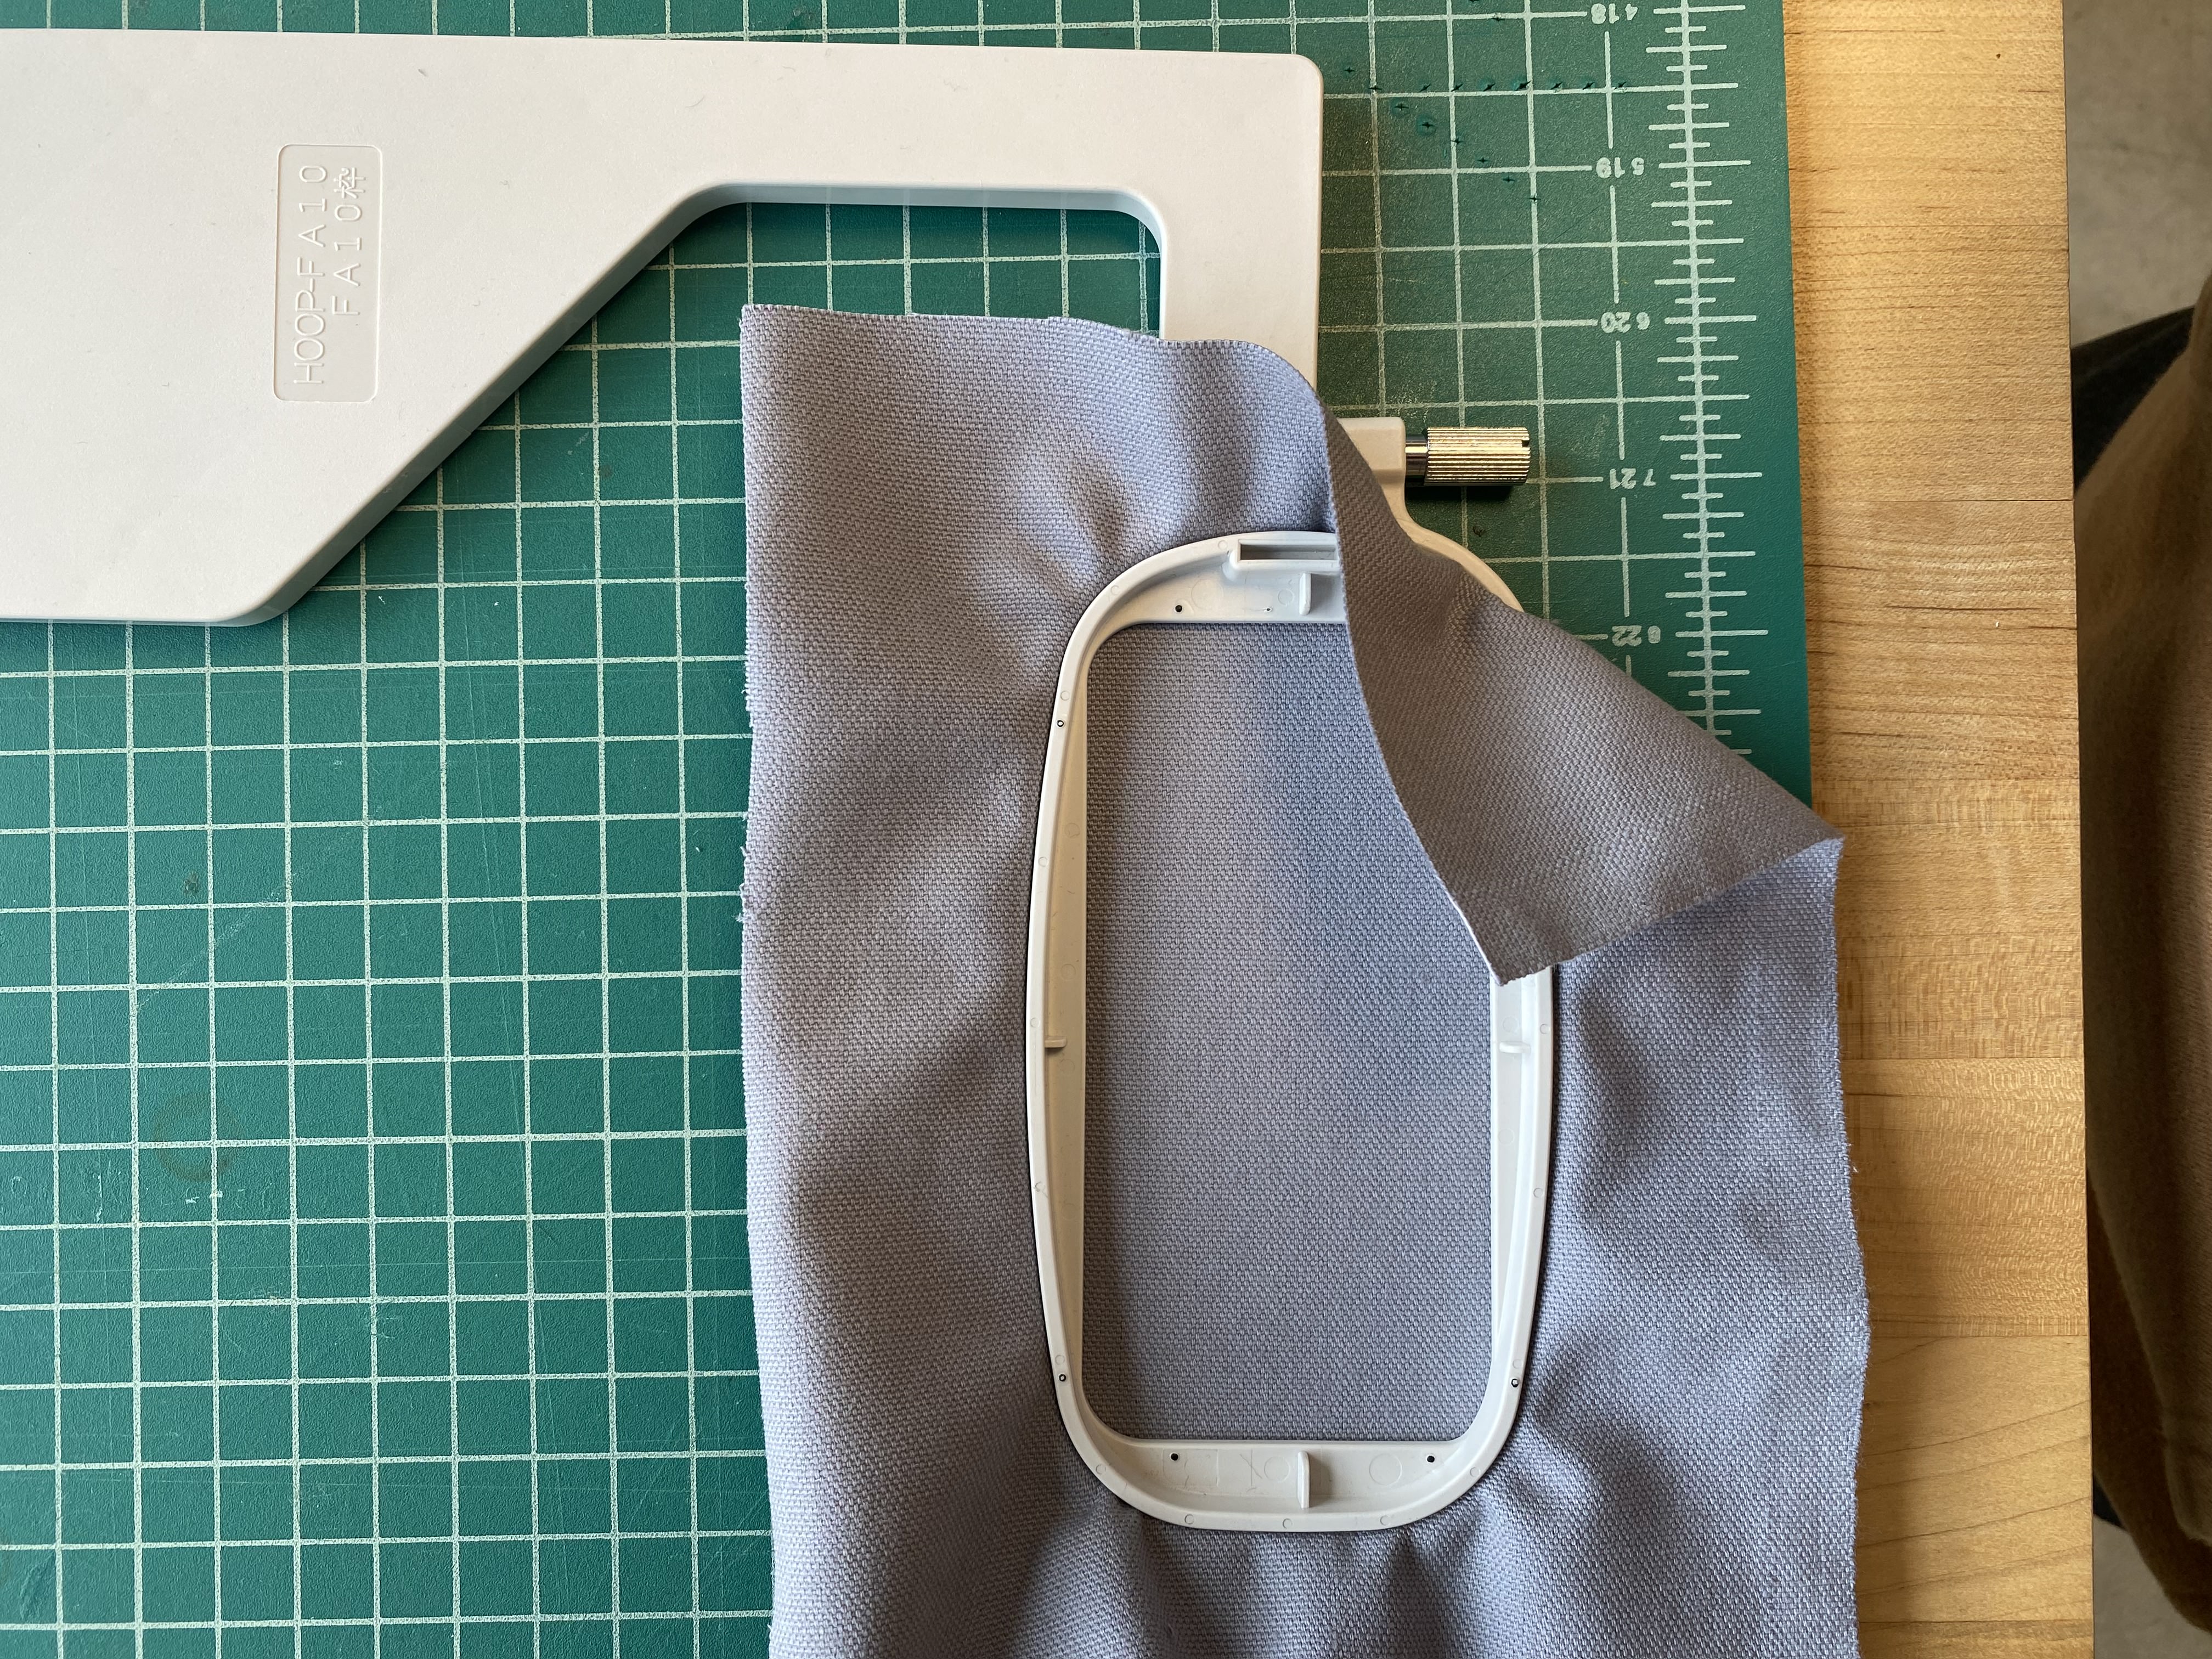
- Select the proper embroidery hoop that you wish to use.

- Set your fabric in the hoop, you want to remove the removable part -> set your fabric on there and put the part back on top -> tighten it on the bottom right until your fabric is not loose (if you need to tighten it more than it needs use a minus philips screwdriver to tighten the hoop)
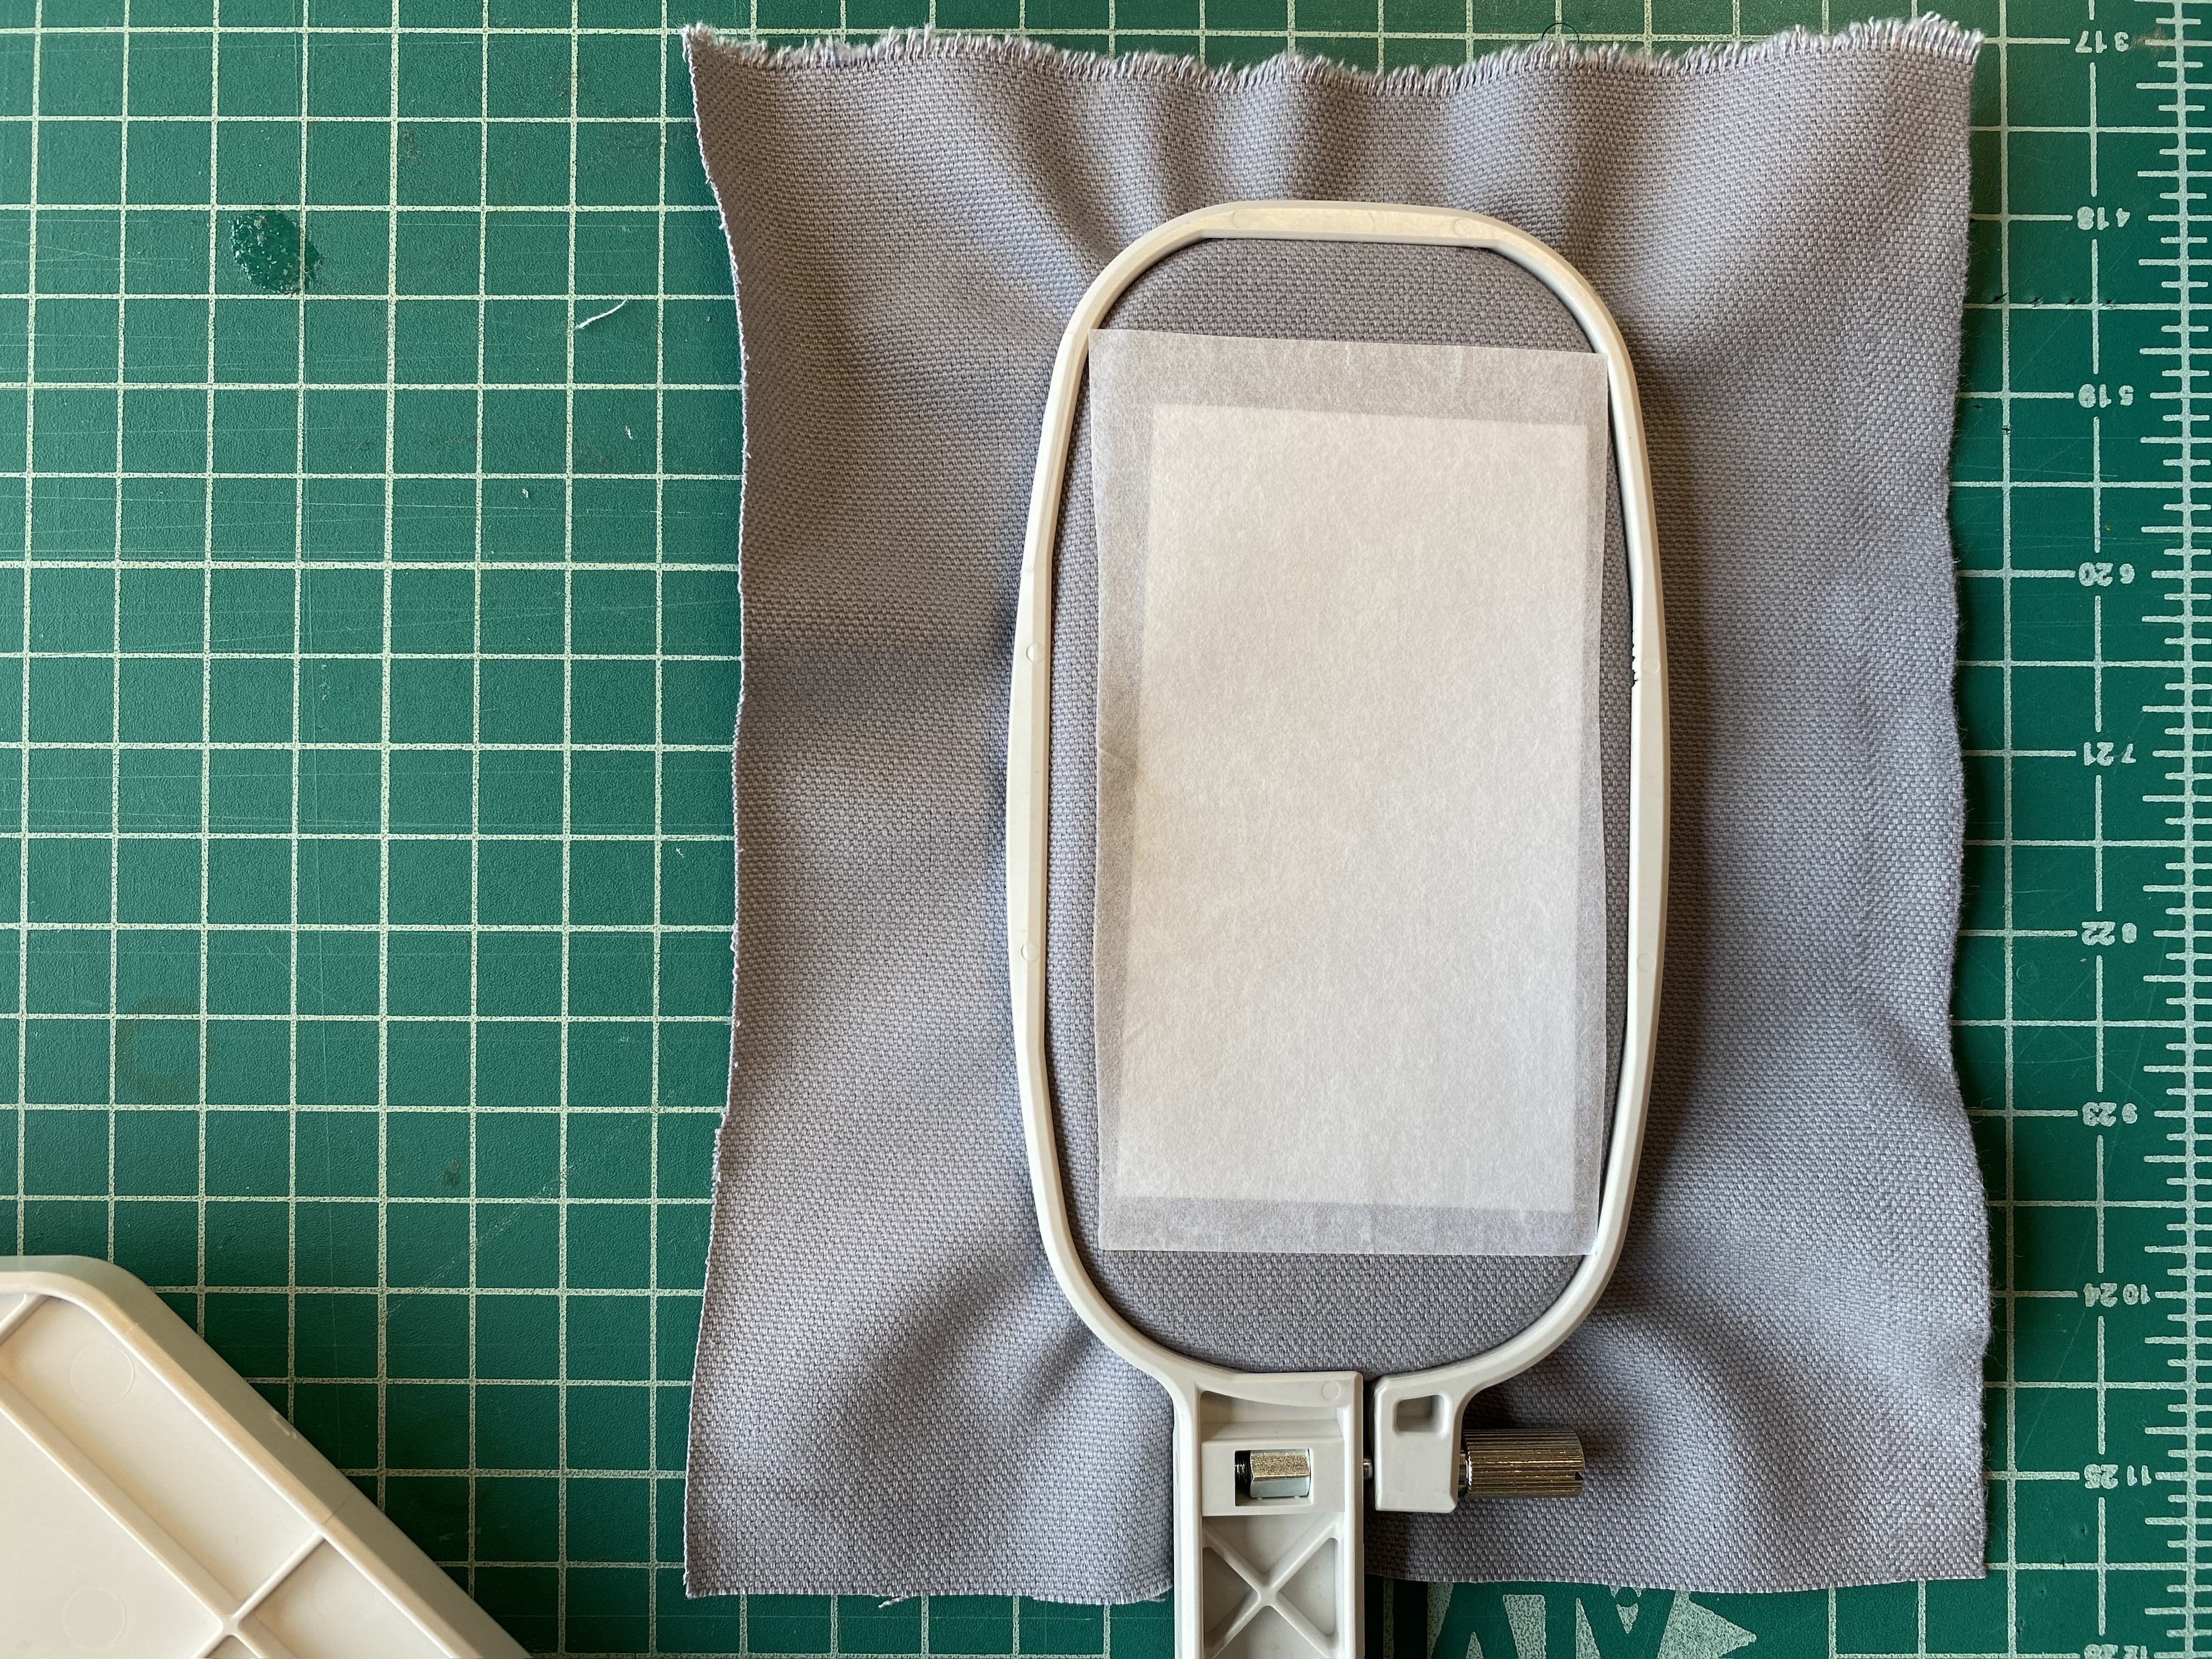
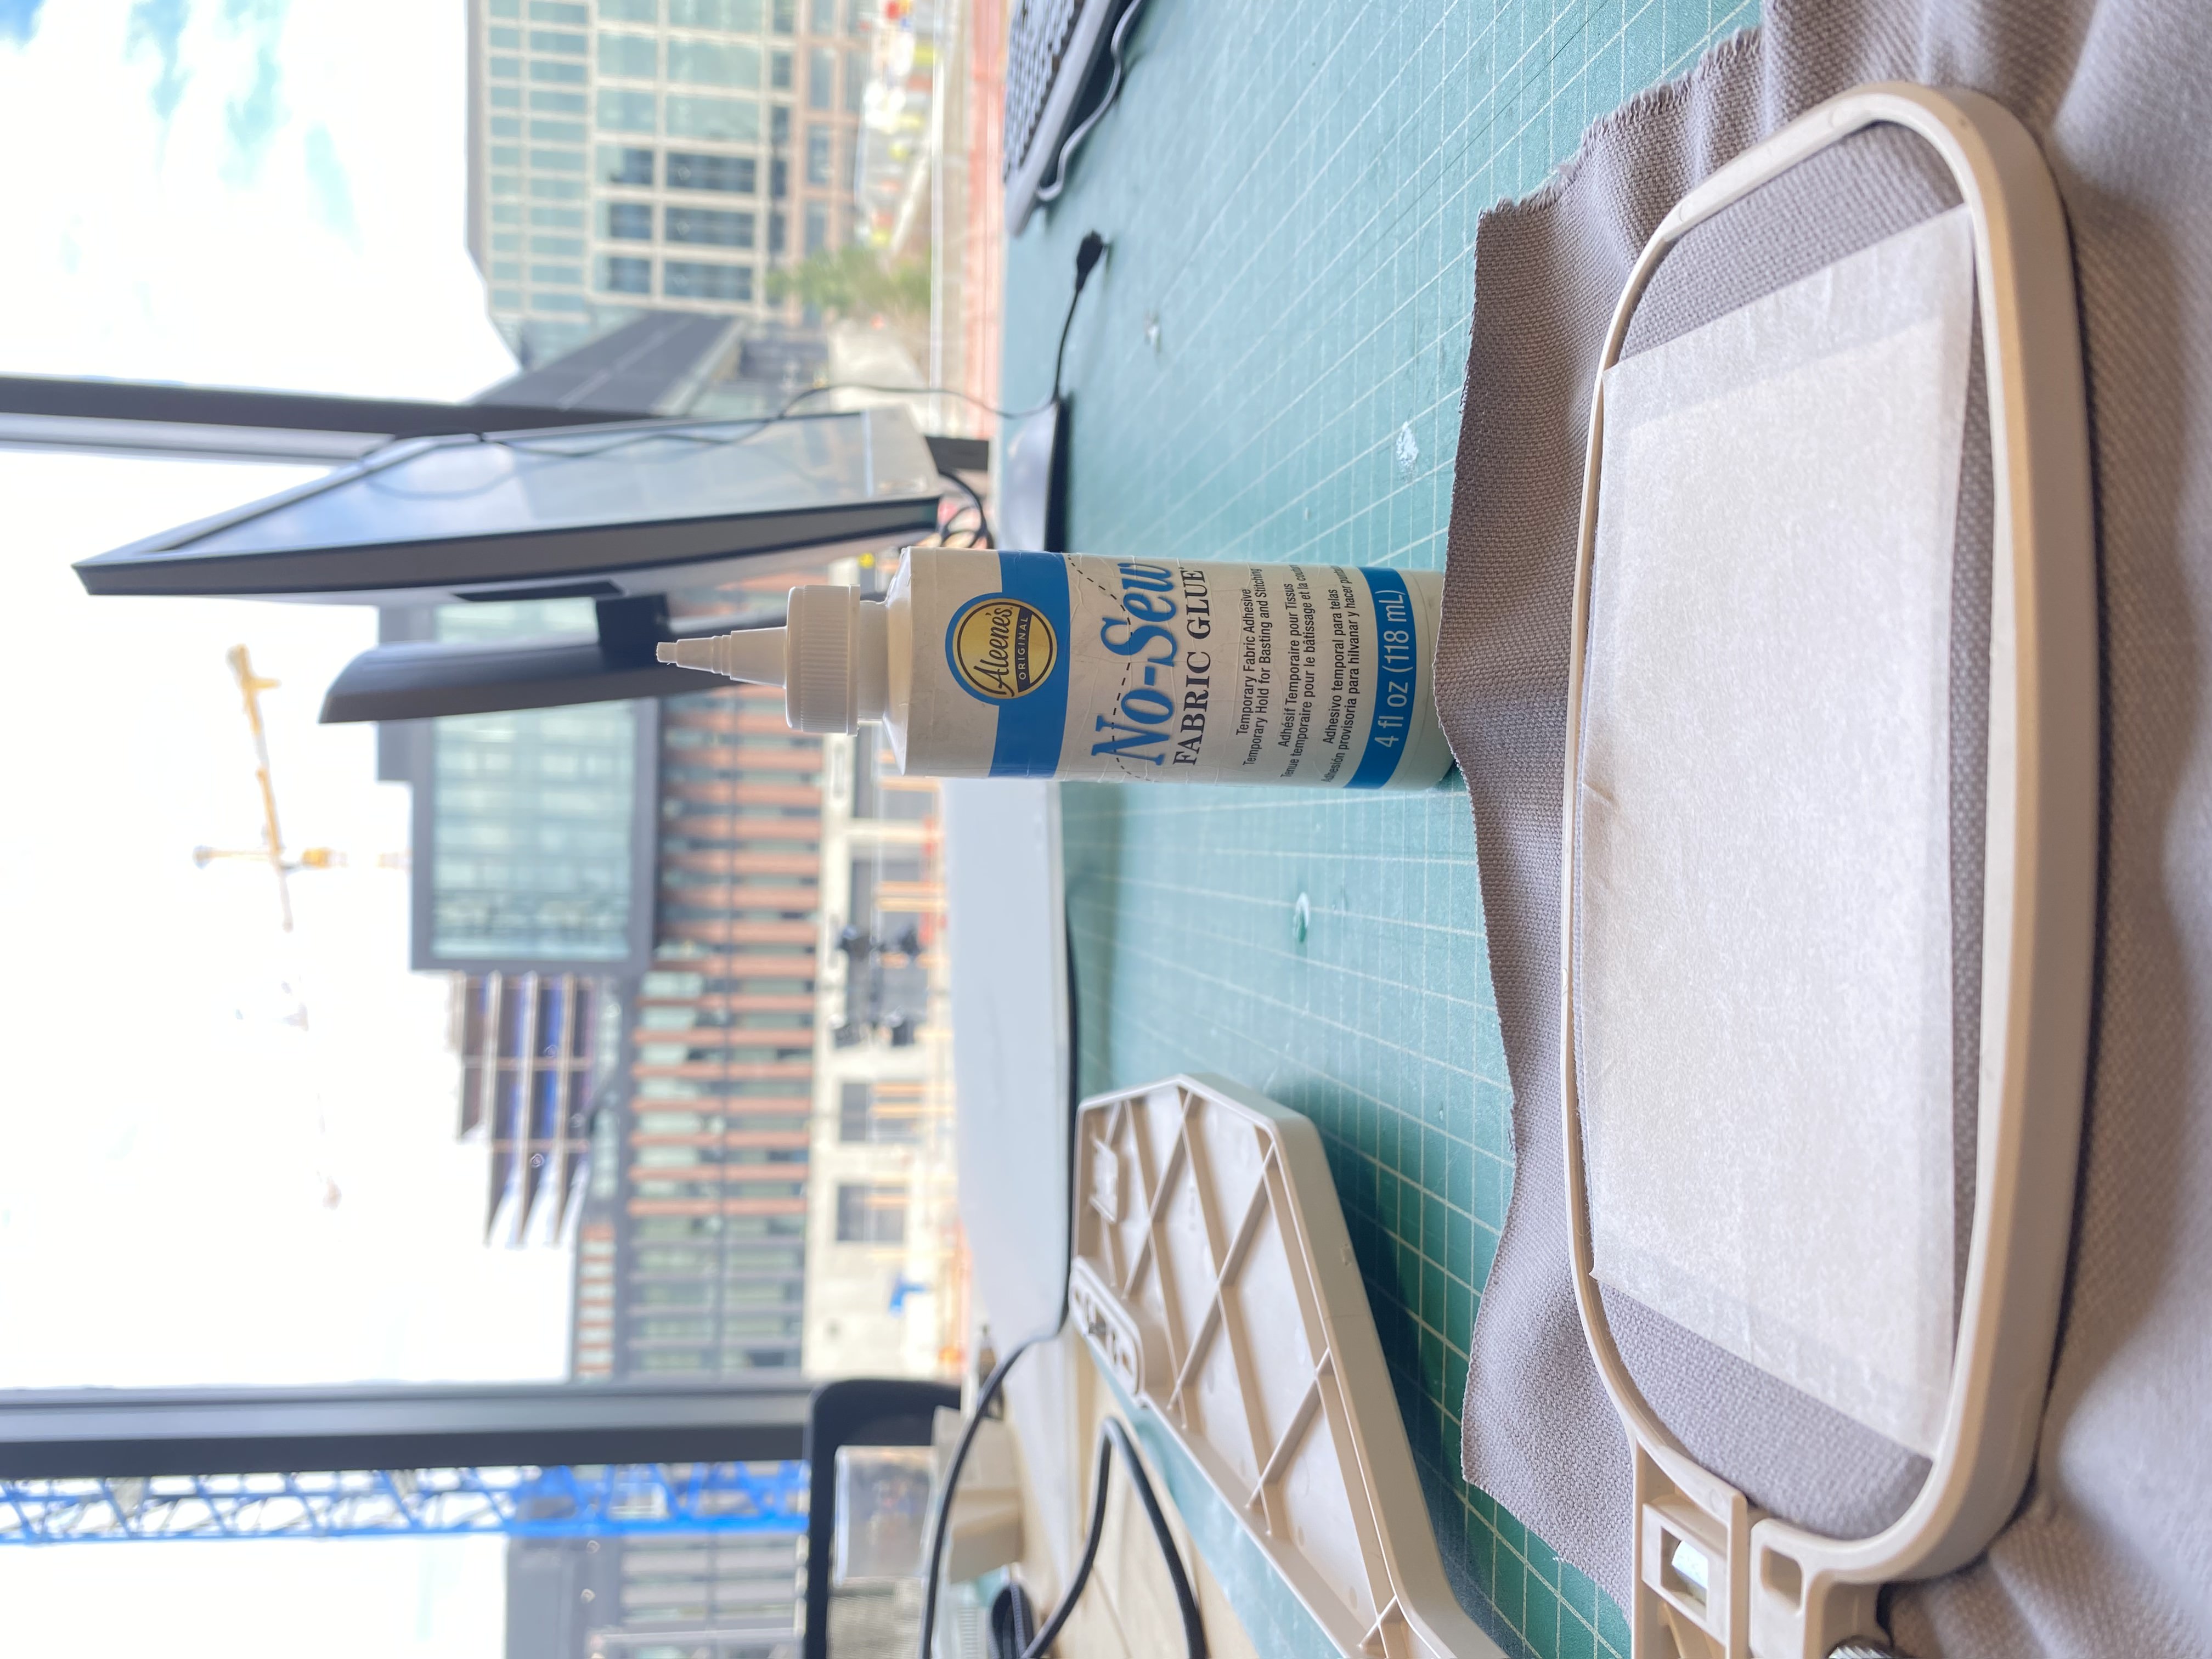
- Ensure that you have a stabilizer (embroidery backing) at the back of your fabric of where your design will be (you are able to use the sticker backing like the First example or you can use the Sewing glue the Second example below).
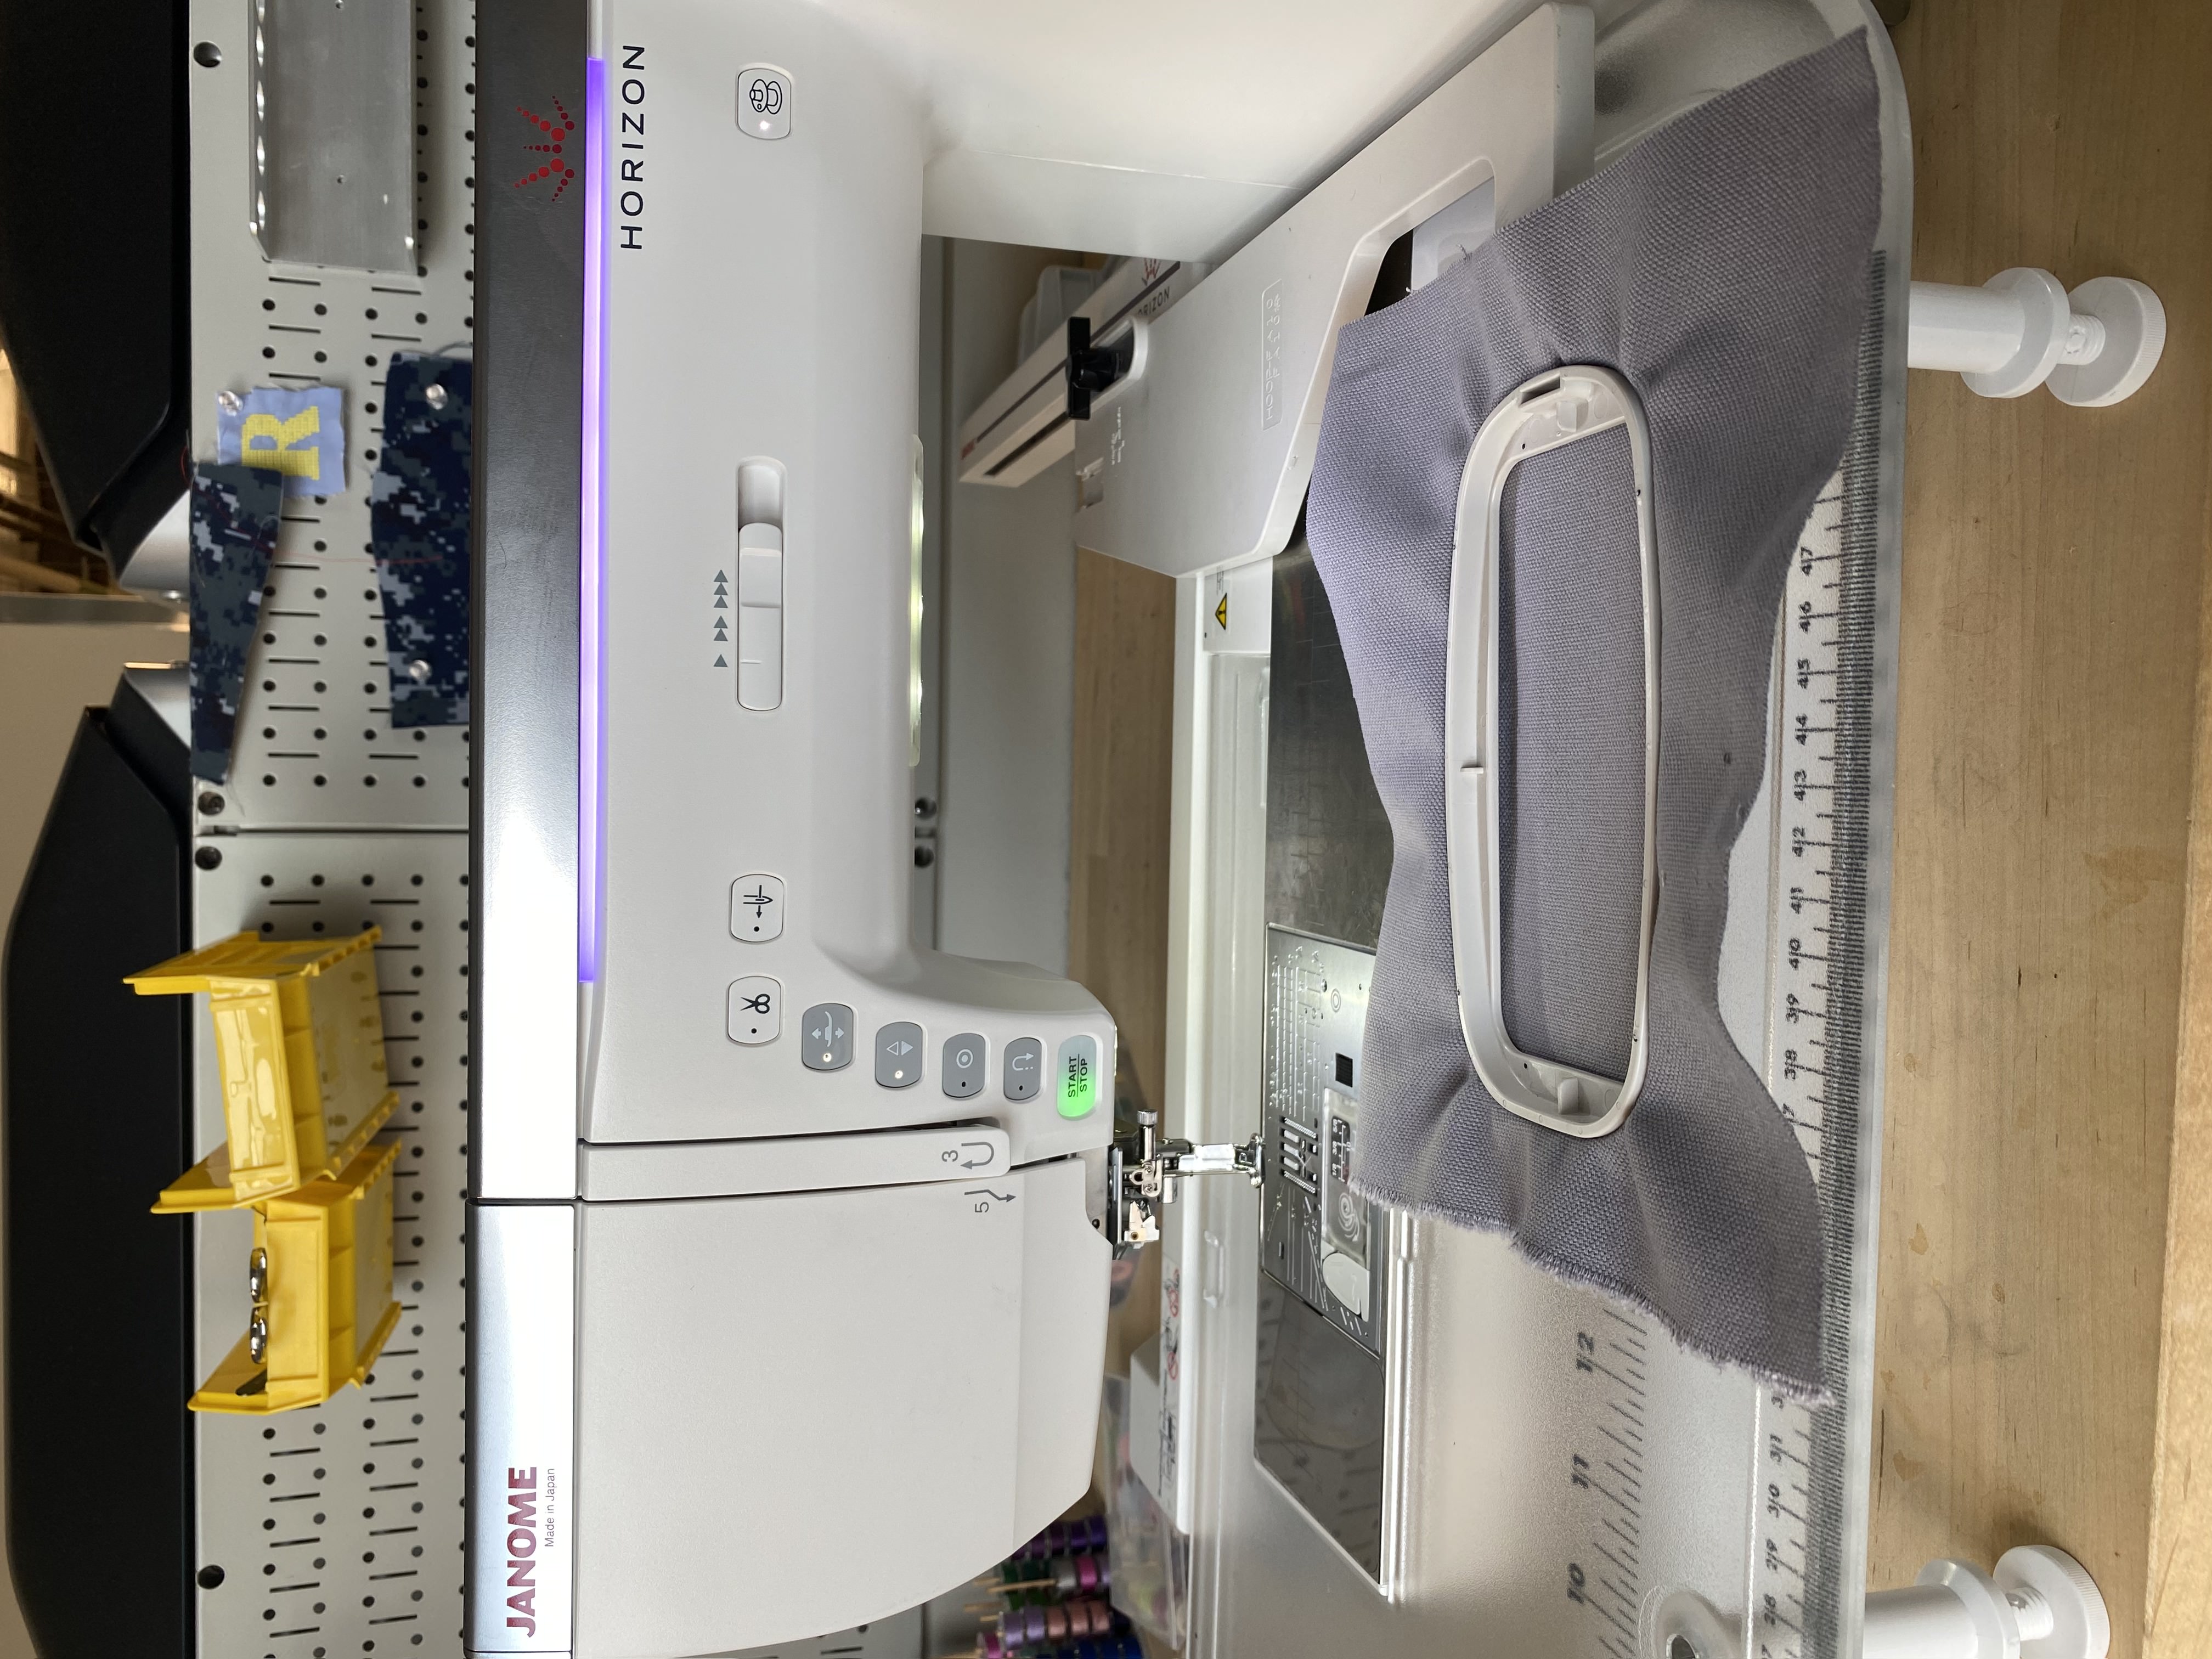
- Attach the hoop to the carriage - make sure that you have the lock pin attach to the carriage and that it is secured in place.
- Click on the open folder icon - select the USB port 1 or 2 depending on where you plugin your USB.
- Select the file that you want to embroider. You will then get a popup of the hoop confirmation press OK.
- Once that is all done press START on the machine.
💡TIP: When you save the file on the USB and you are unable to see you file ensure that it is saved in a Folder called EMB if you are still unable to see your file in the EMB folder save it in the folder called Embf.
NOTE: If the Embroidery machine is not threaded please refer to Threading the Machine video to help you thread the machine, do keep in mind that the auto threader on our machine breaks easily, so you may have to manually insert the thread into the needle head once you reach that part. Usually the auto threader can be gently bent back into place.