Sewing Machine
Janome sewing machine is the standard sewing machine that is used in the Labs. If you have used a sewing machine before then it is not any different from the other brands.
The following guide explains how to sew with the Janome sewing machine, along with the relevant steps one has to take. The guide assumes one already has the sewing machine in front of them and fabric ready.
Sewing Machine Setup
-
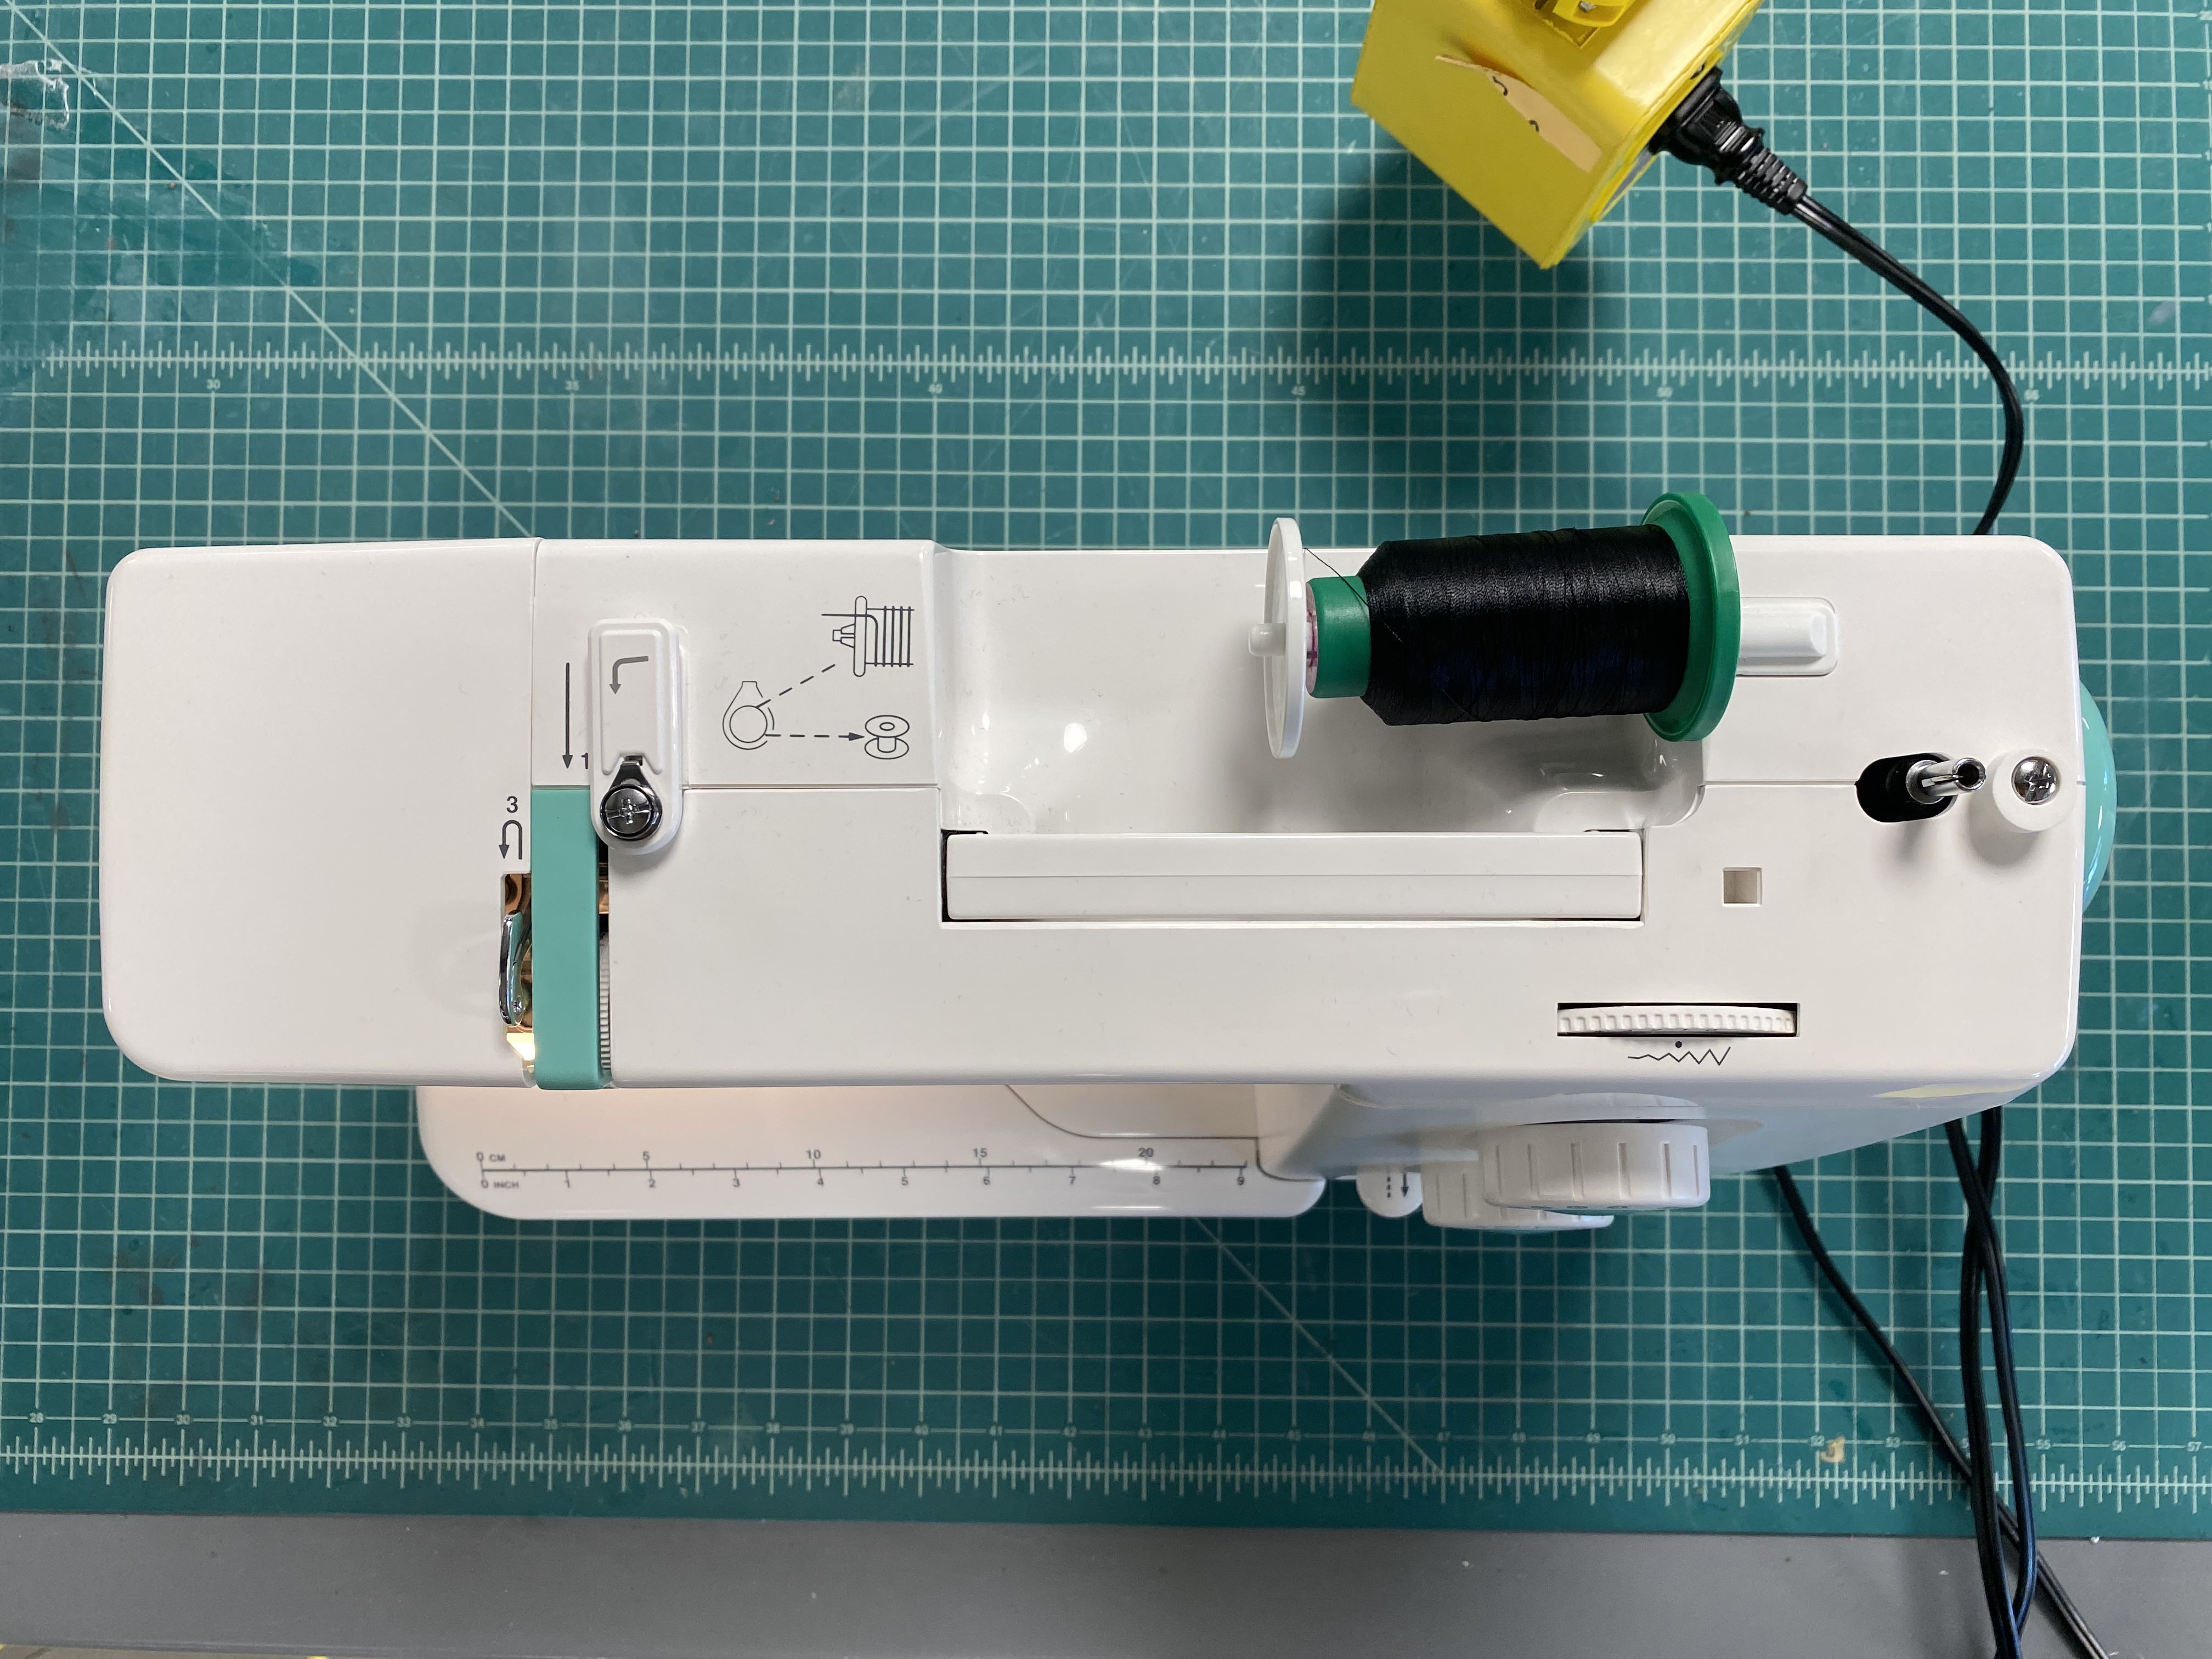
Make sure you have the sewing machine and a thread. Place the thread on the larger spool pin located on the top of your machine. Your machine should indicate where the thread goes, or you can check your manual.
 When you go to step 3 of the threading ensure that the thread is in the hook.
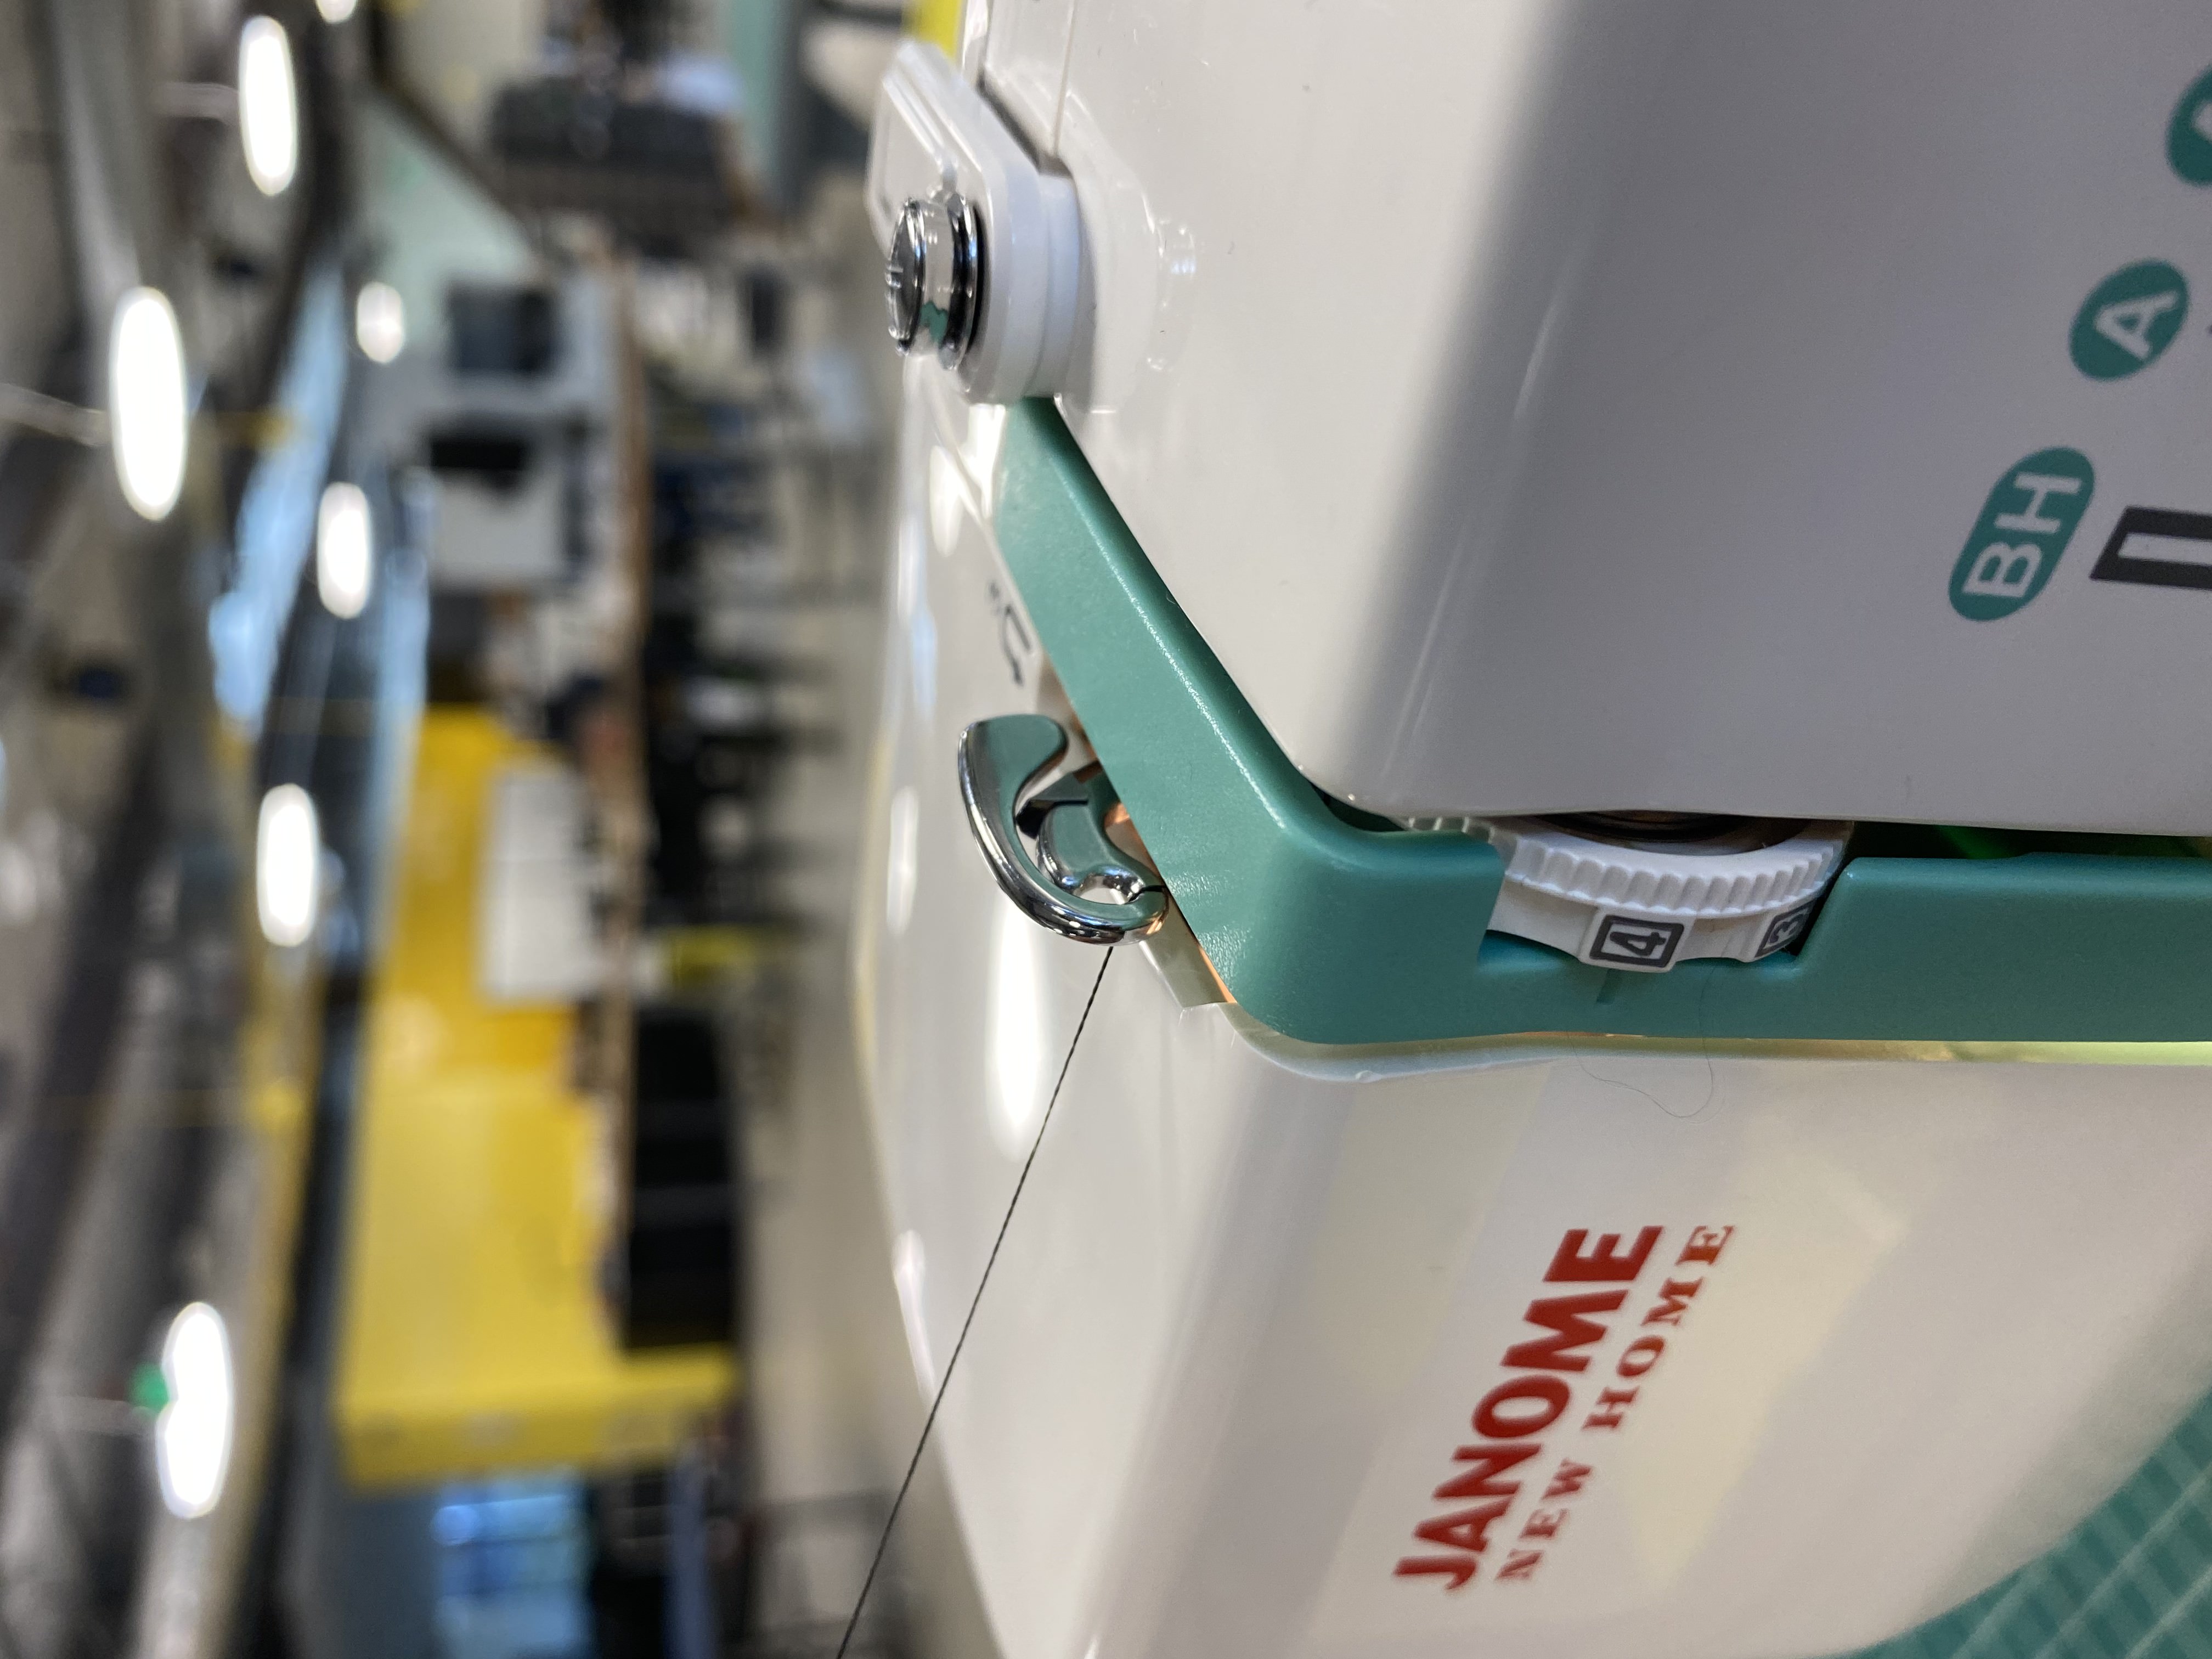
- Insert the thread through the eye of the needle
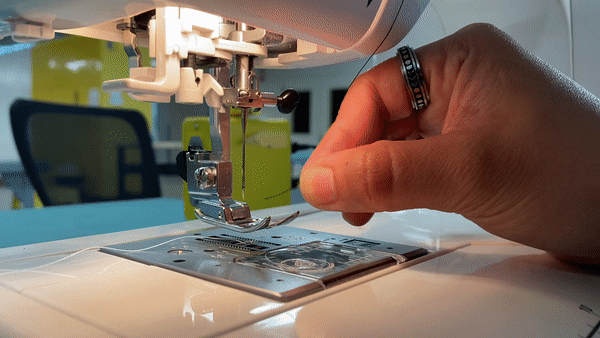
- Catch the thread.
Turn the knob on the side of your machine once or twice to catch the bottom thread called bobbin. You should see the bobbin come up through the machine base as you do this. Push the thread strands to the back of your machine with a ruler or other flat object.
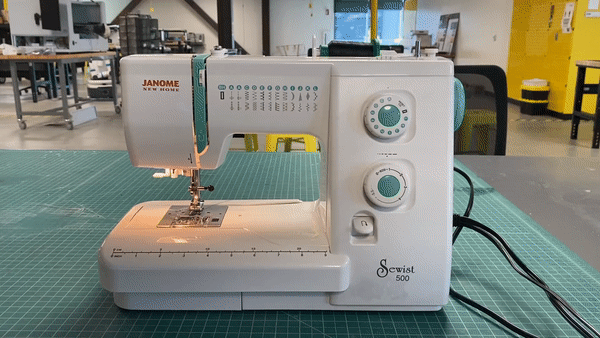
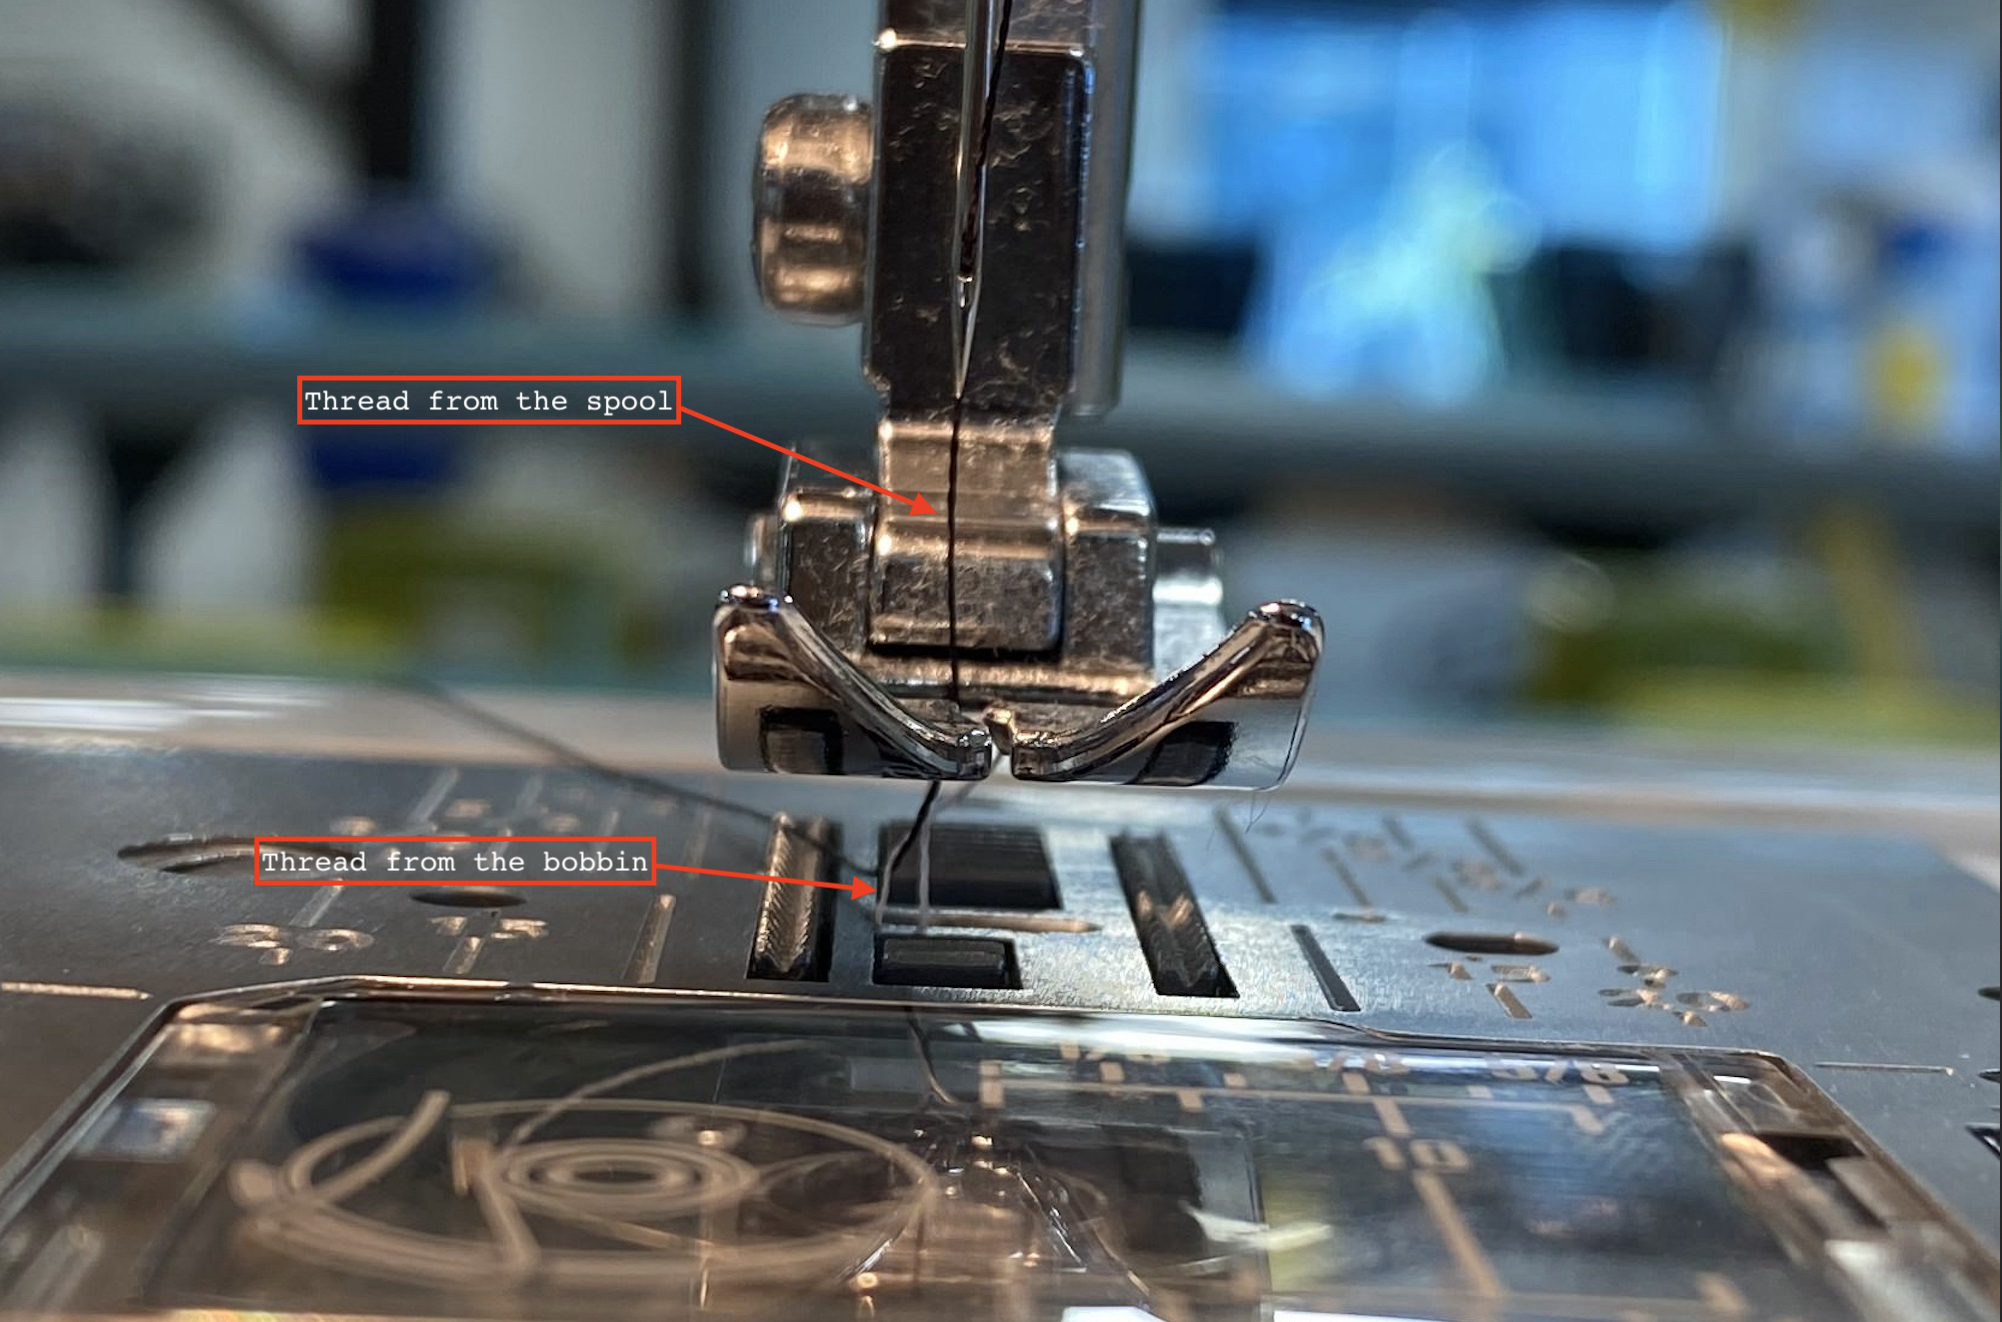
The sewing machine is now threaded and ready to use! 🎉
Using the Sewing Machine for the First Time
-
Check your stitch setting. For the Labs we only use the basic straight stitching.
-
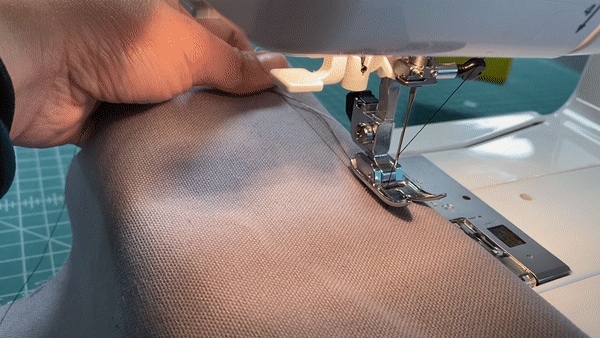
Place the fabric under the needle.
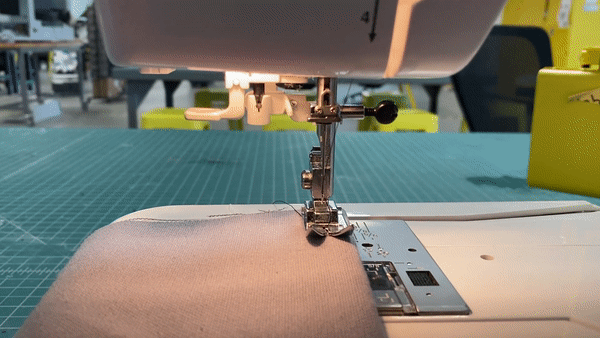
There is a lever on the underside of your machine that you can flip to raise the presser foot. After you raise the presser foot, insert your fabric and then lower the presser foot to hold it in place.
 3. Apply gentle pressure to the pedal. When you are ready to sew, apply gentle pressure to the pedal with your foot. This will make the needle move and the teeth on your machine will move the fabric forward as you sew.
 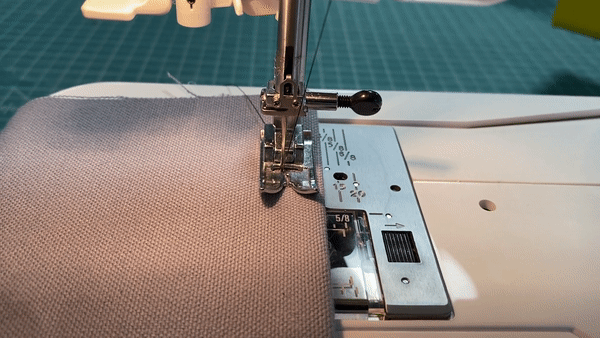 Make sure that the pedal is somewhere that is easy for you reach and that will be comfortable for you to apply pressure to.
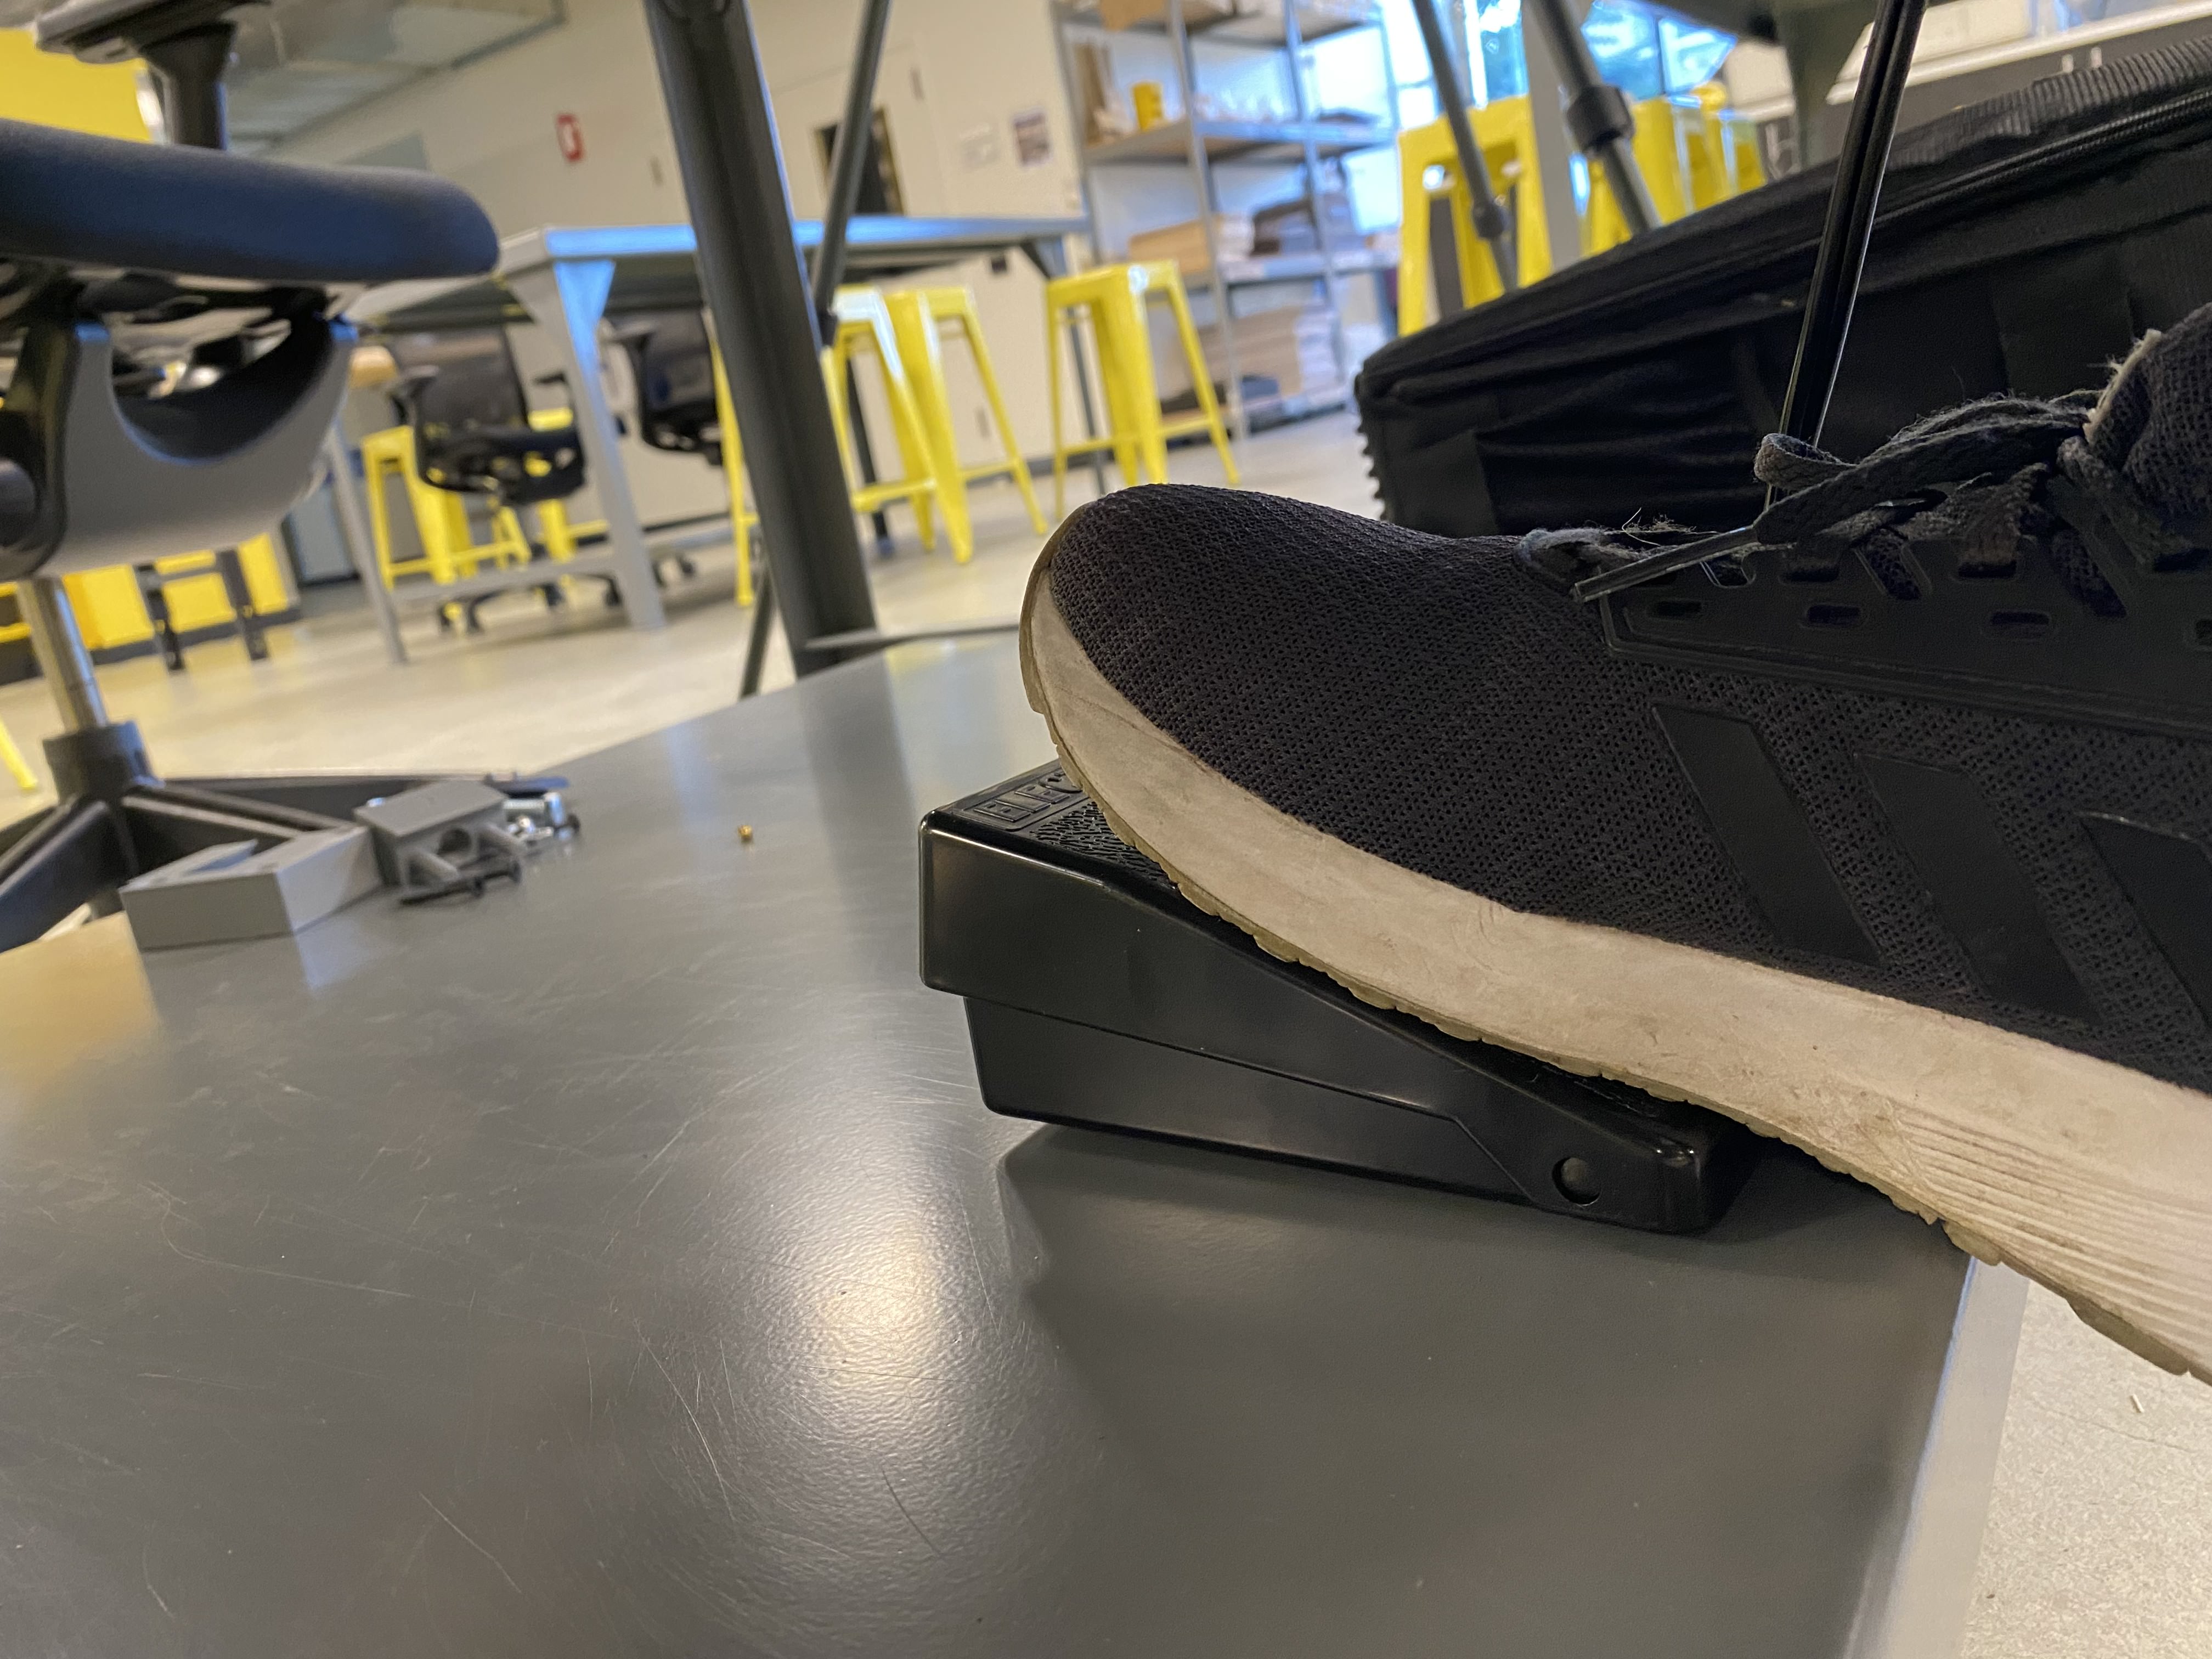
-
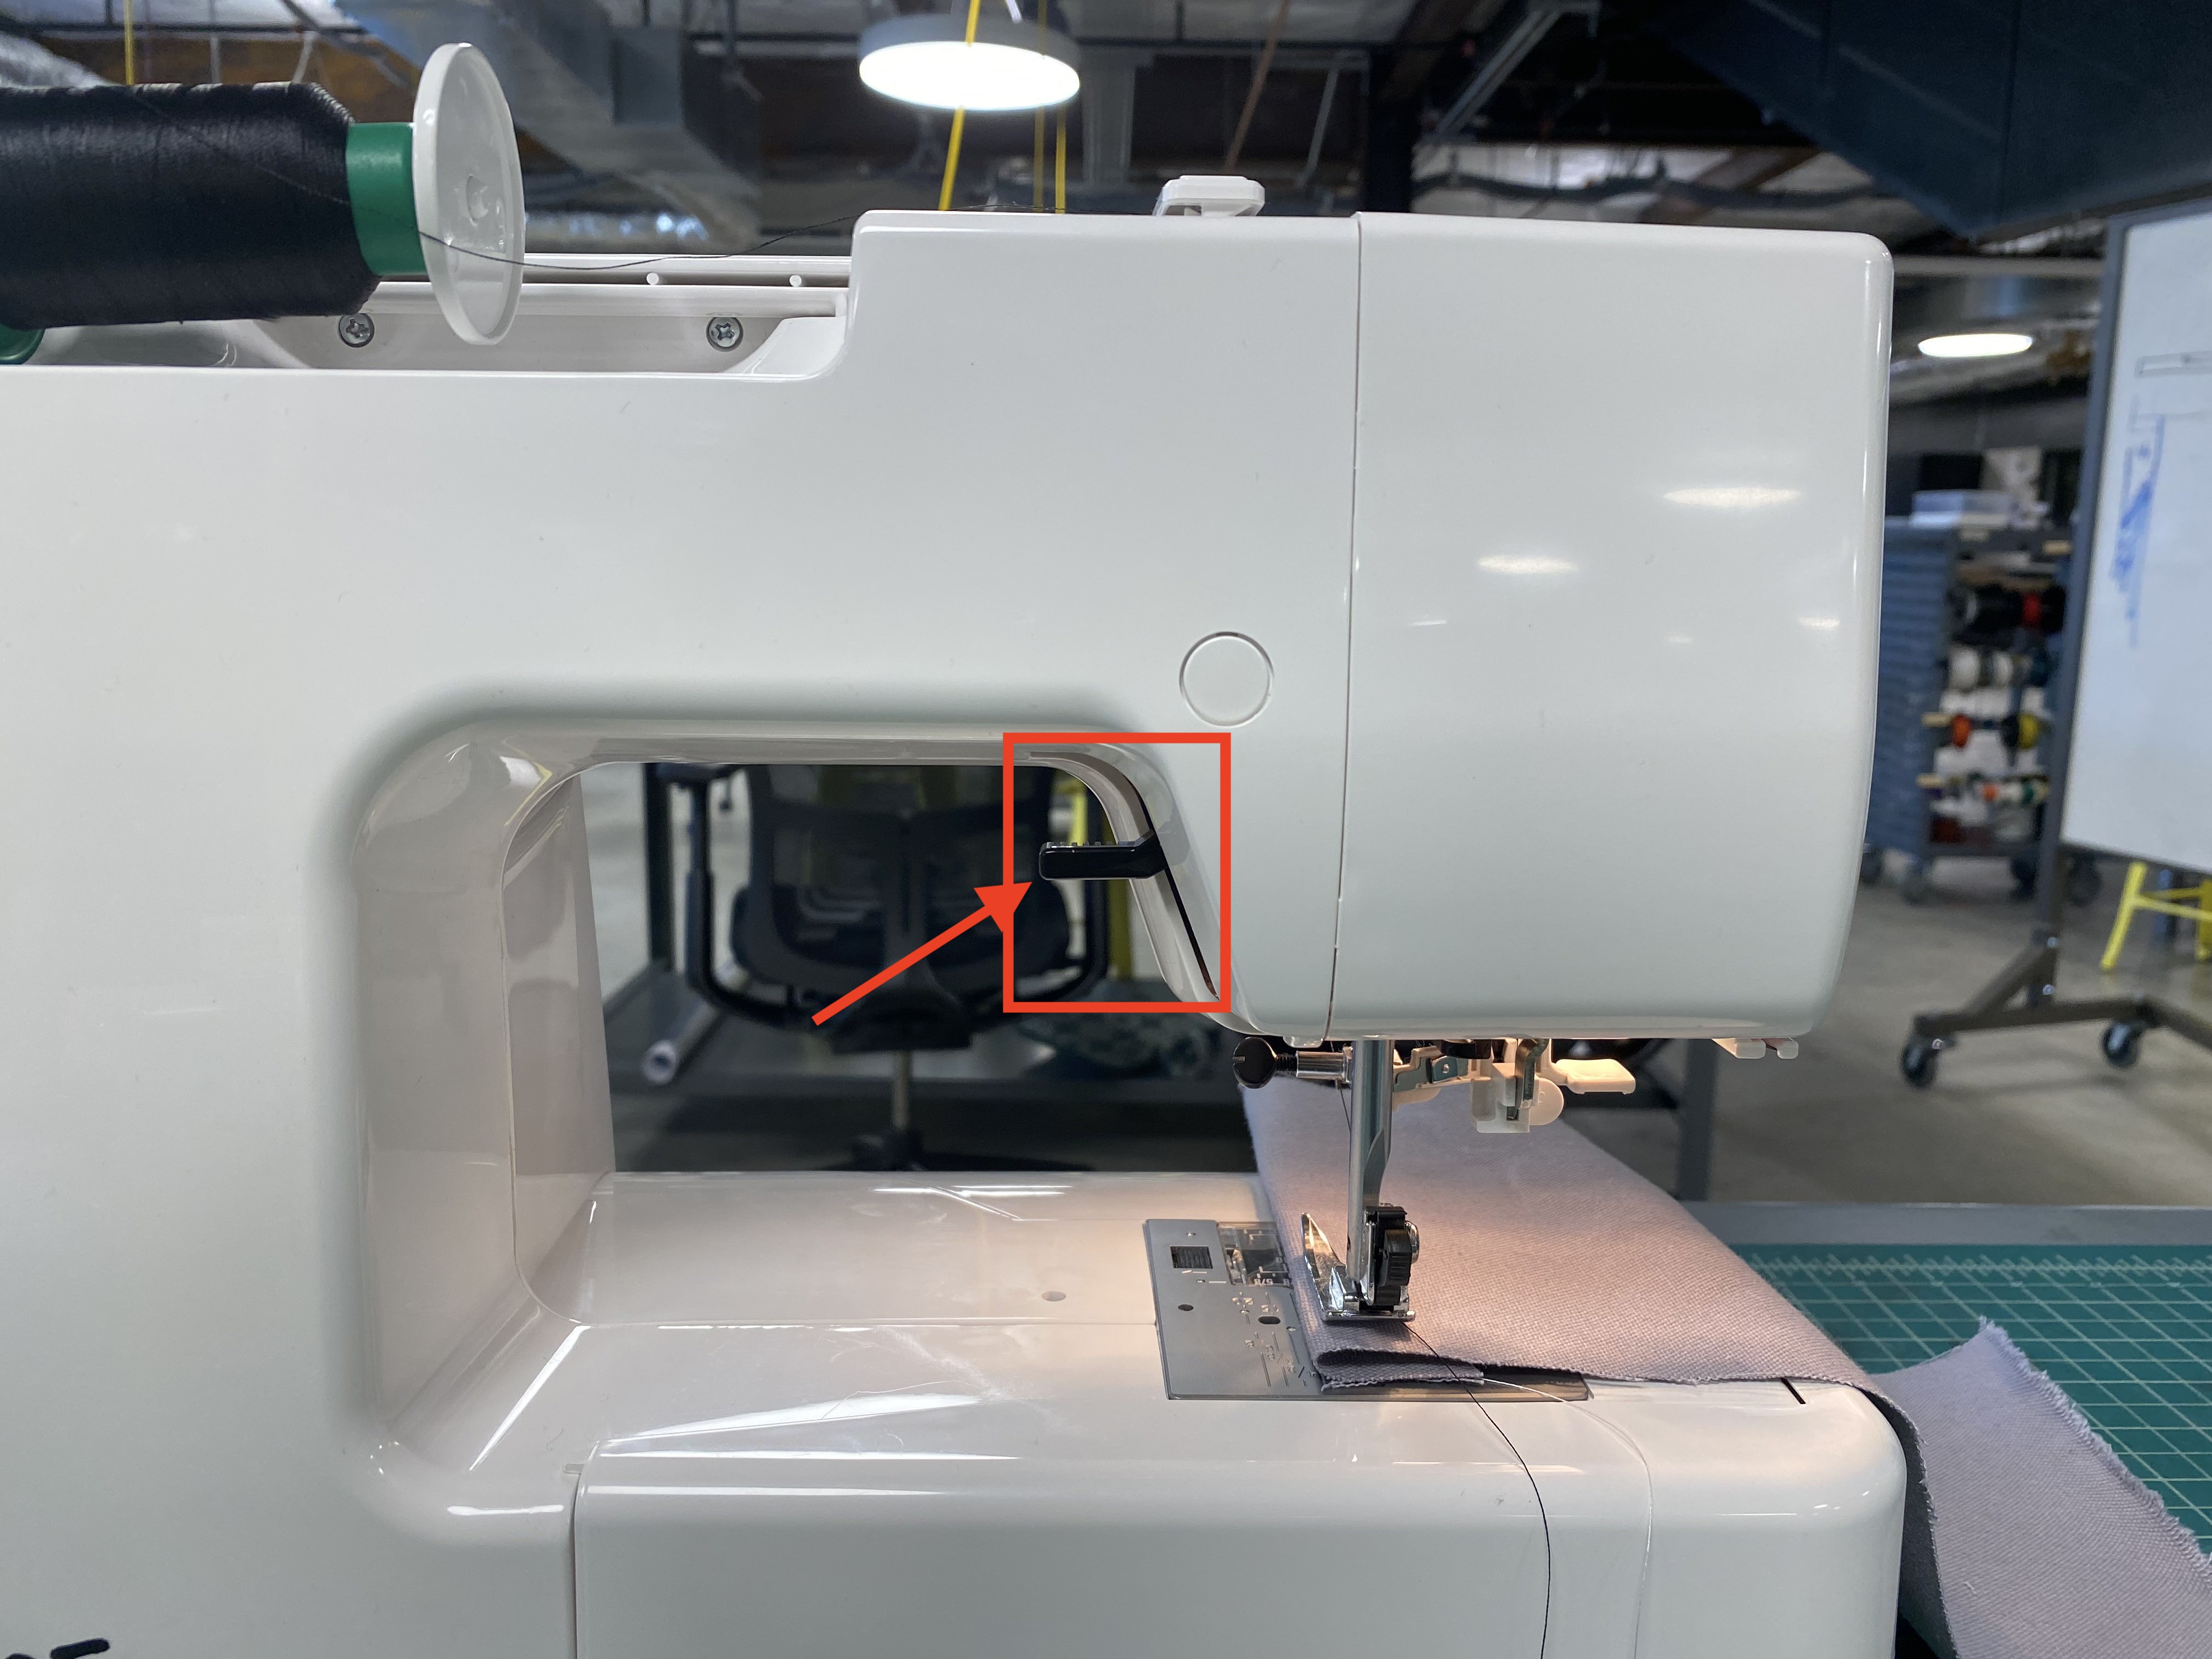
Once you are done you can use a scissor or the thread cutter on the left handside to cut the thread.
You can download the latest SOP here