Your First 3D Print (Bambu Lab X1 Carbon)
Before You Print
Some Rules:
- You can only use the dedicated system for using the Bambu Lab 3D printer.
- You are NOT allowed to log out the existing Bambu Lab user accounts from either the 3D printer or Bambu Studios installed on the dedicated system.
- Manage the 3D printer with care!
Before you start preparing your 3D model on Bambu Studio you must check the following:
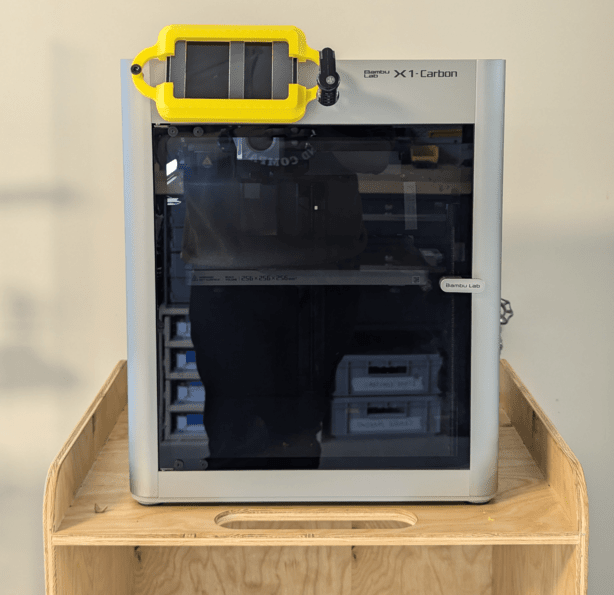
- The 3D printer is available. (Not actively printing)
- The Magnetic print bed is empty and placed correctly.
(Note: If there are existing 3D prints on the bed then remove it. Please see the After You Print section for removing the 3D prints) - There is enough filament in the spool at the back of the printer.
(Note: Although there is a filament runout sensor which will stop the print, and we will replace the spool) - After the above-mentioned checks are done, please proceed to the next steps.
Get Your 3D Print File Ready
- If you are using Fusion360 then using the Utility -> Make -> 3D Print option you can generate the STL file of your 3D model.
- Use one of the spare thumb drives to transfer your STL file from your system.
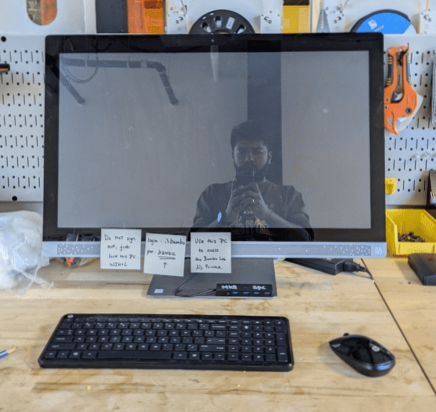
- Find the dedicated system placed on the counter in front of the Bambu Lab 3D printer and use the Login credentials posted on the comupter.
- Now insert your thumb drive to the USB dock at the front of the dedicated system.
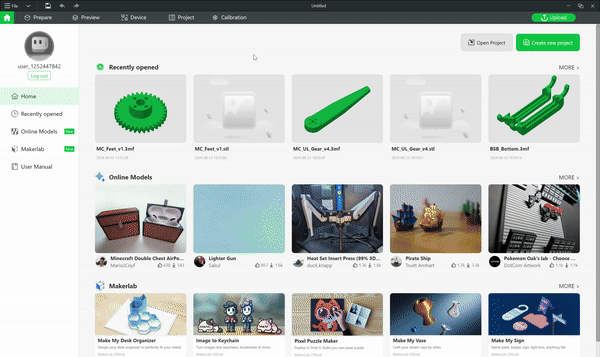
Bambu Studio - Prepare
- Find and open the Bambu Studio software from the desktop (If not already open).
- Go to the File -> New project. (Only required if there is a project already open)
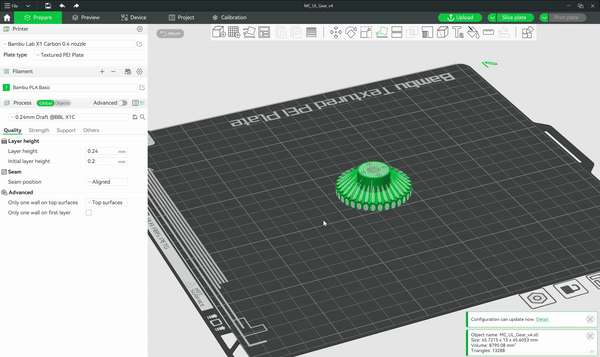
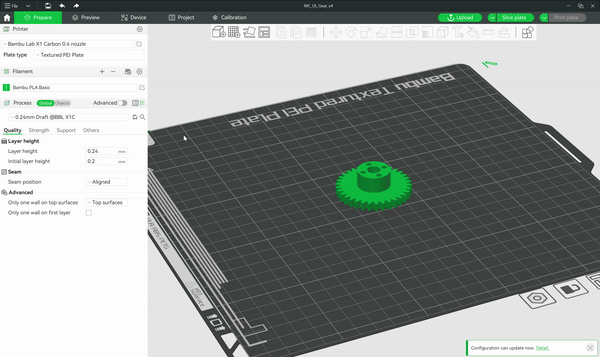
- Go to the Prepare tab and click on it, an empty build plate with setting menu will appear.
- Go to the File -> Import -> Import 3MF/STL/STEP/…
- Then select the 3MF/STL/STEP/… file (preferably STL) from your thumb drive.
- Your 3D model should appear on the print bed; the orientation might not be ideal.
- You might want to change the orientation or which side of your 3D model you want to be facing the print bed such that there is almost no overhanging structure.
- Click on Lay on Face (or press F) and select the face which you want to be facing the print bed. This will automatically change the orientation of your 3D model.
Bambu Studio - Settings
-
You might not have to change/update the following settings but make sure that it matches the following:
- Printer: Bambu Lab X1 Carbon 0.4 nozzle
- Filament: Bambu PLA Basic
- Process: Global
- System Preset: 0.24mm Draft @BBL X1C
-
The only setting you must change from the system preset is Support -> Enable support.
- The default filament settings for the Bambu Lab printer are as follows:
- Filament: Bambu PLA Basic
- System Preset: 0.28mm Extra Draft @BBL X1C


- If you run into incorrect filament settings (as shown below), you can restore the default settings by following these steps:
- Click on ‘Synchronize filament list from AMS’
- Select ‘Sync’

Bambu Studio - Slice and Print
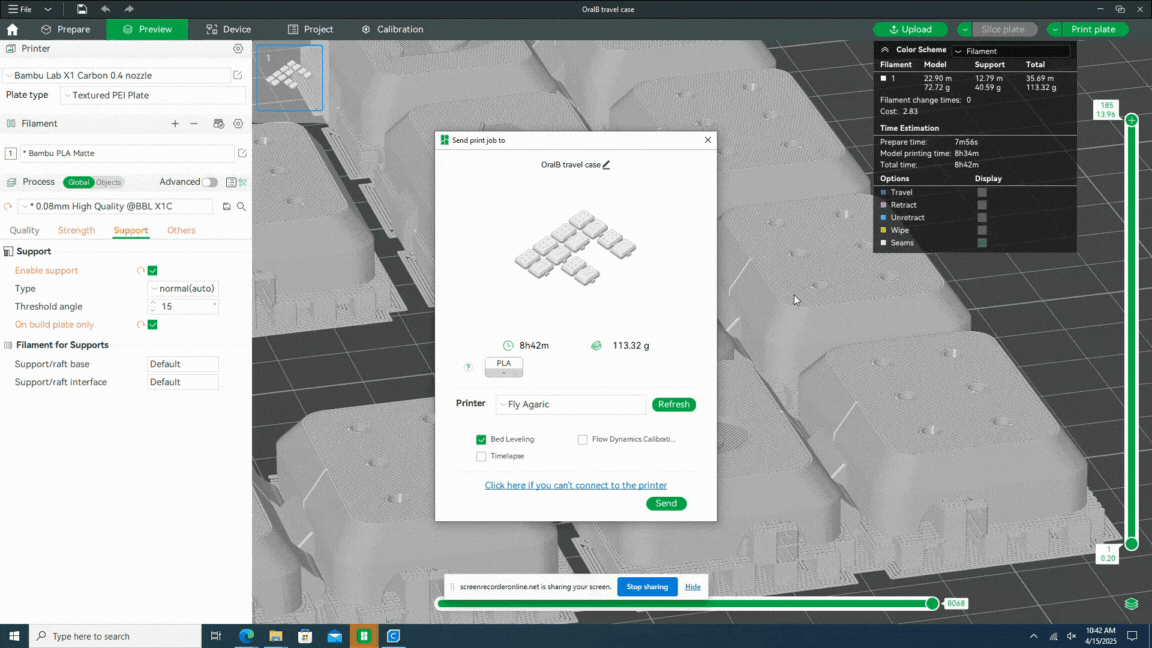
- Click on Slice Plate on the top right section.
- After the slicing is done, your main screen will automatically switch to Preview.
- Click on Print Plate, this will pop up a window showing you the print time.
- You might want to uncheck Bed Leveling, Flow Dynamics Calibration, and Timelapse to start the print faster. (Timelapse will not work anyways)
- Click on the Send button to send the sliced file to the 3D printer.
- Wait for your print to be completed! (This printer is crazy fast though!!)
- Select the printer you want to use from the printer selection dropdown menu
After You Print
- Confirm that the print is done, and the printer is not moving.
- Open the front glass door and try removing the print from the print bed gently.
- If the print does not come off easily then hold the front lip of the print bed, push upwards gently to disengage with the magnets, and take out the print bed.
- Then flex the print bed gently to remove the 3D print and take it off.
- Place the print bed back on the magnetic platform correctly and close the glass door.
- Done!! Have fun with your first 3D print on the Bambu Lab X1 Carbon.
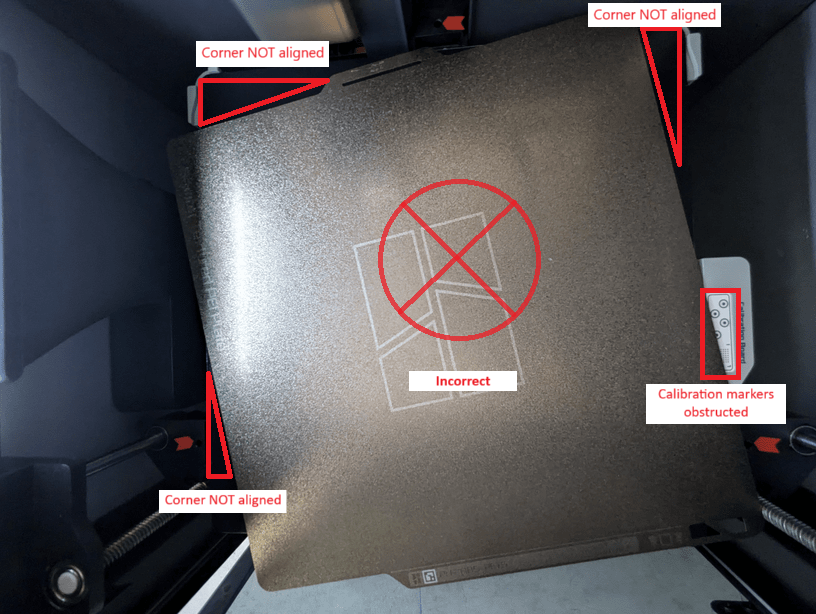
Please see the reference images below for correct and incorrect placement of the print bed:
Incorrect
Correct
