Your First Laser Cut on the Glowforge
Two Rules of the Glowforge (or any laser)
- Don’t leave cuts unattended.
- Talk to staff before using your own materials.
Signing up for Glowforge Account
Prior to this guide, you should have been invited to the Glowforge systems by the Prototyping Labs staff, if not, please ask a member of staff to invite you. After invitation, you will receive six emails from Glowforge, one of which will be different than the others. In that different email, click on the “Getting Started” link to go through the sign up process. Glowforge accounts are free and are required to print on the Glowforge.
Download the Sample File
Before getting started with the instructions below, download the cut file here. You may need to right click the previous link and select “Save link as,” which may be easier on a computer rather than a phone. Keep in mind that different colors will operate differently when uploaded to the Glowforge. For example:
- What the file looks like

- When uploaded to Glowforge

Suggested File Format
- SVG
Uploading a File
-
Log into the Glowforge app: https://app.glowforge.com/
-
To print a file, just drag-and-drop it directly on the Glowforge app, or you can click on the Upload button to upload your print file.
Selecting an Available Glowforge
- Once you have upload your file select the available Glowforge to do your cut.
Selecting Your Material from Glowforge Presets
- Grab a piece of 0.12 inch cardboard from the material supplies and place it in the bed of the machine. Try to use a piece that already has a few cuts in it. The length and width of the board do not matter very much as you can scale your design to fit.
- Select 1/8” Corrugated Cardboard in the top lefthand corner. You may have to use the search bar to find it.
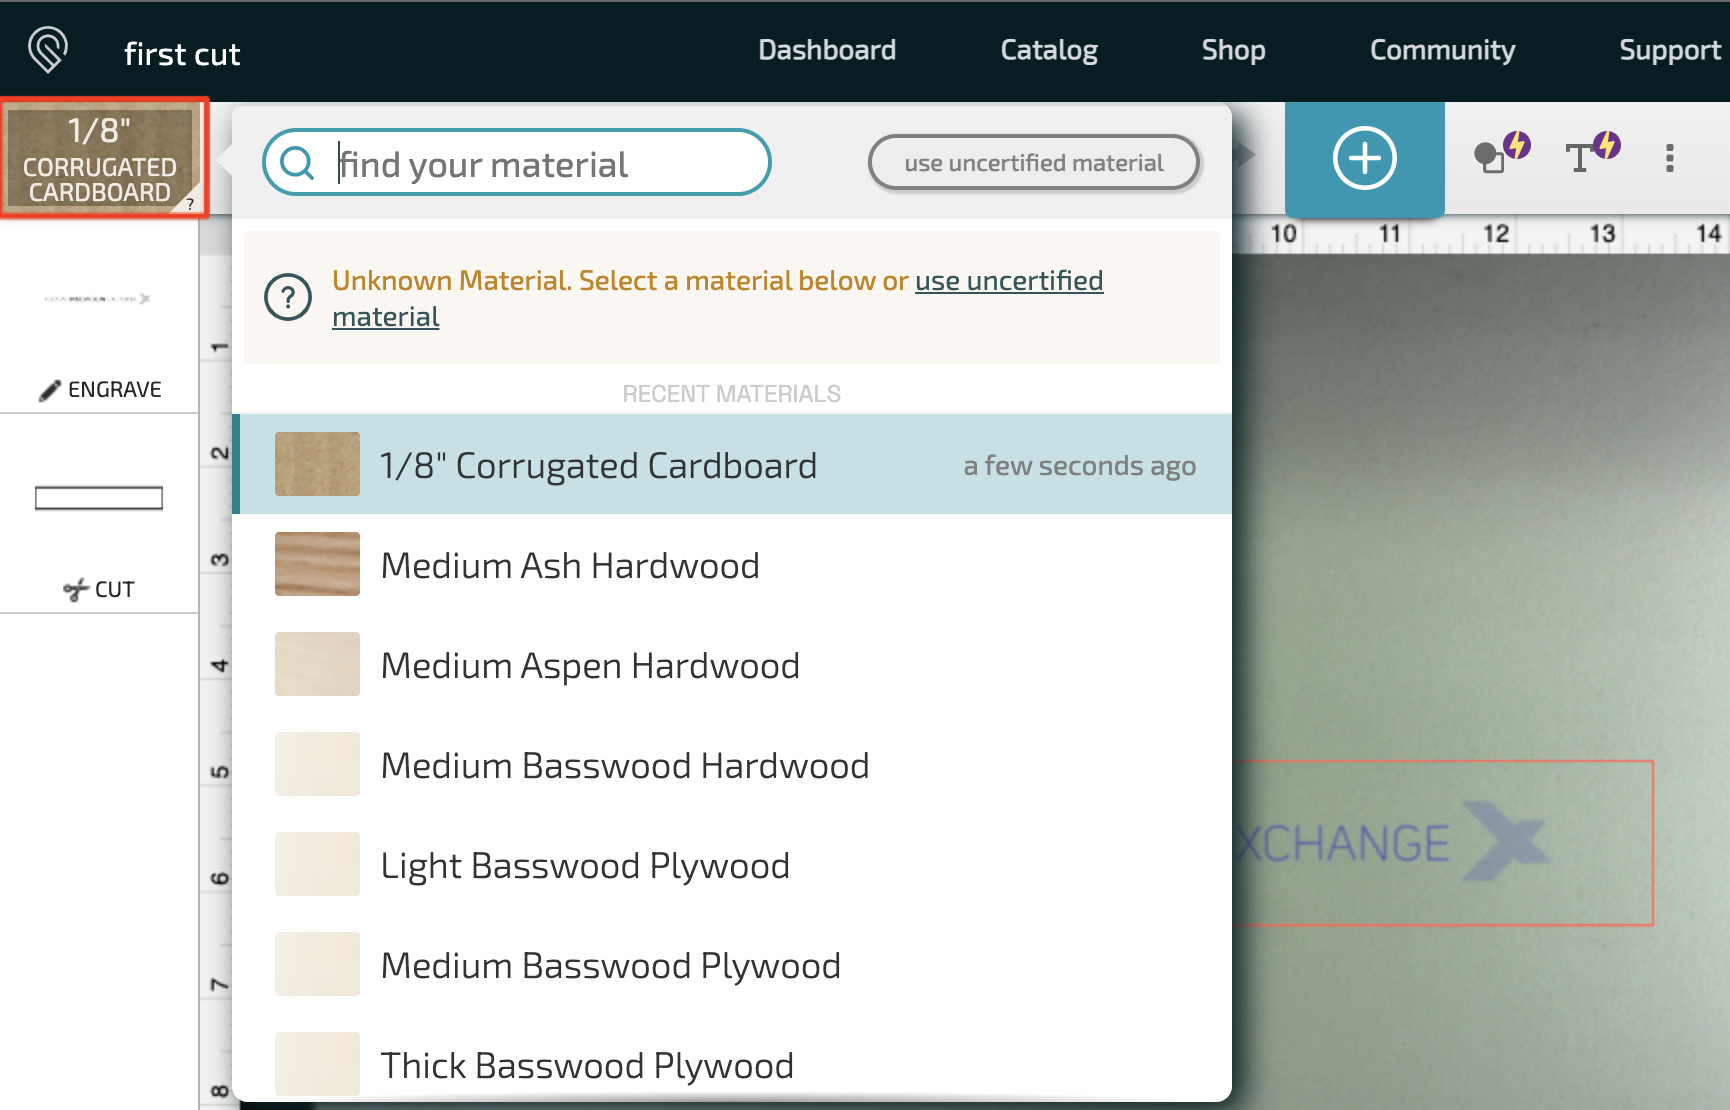
- You can find the proper settings on this page for all of the other materials in the Prototyping Labs
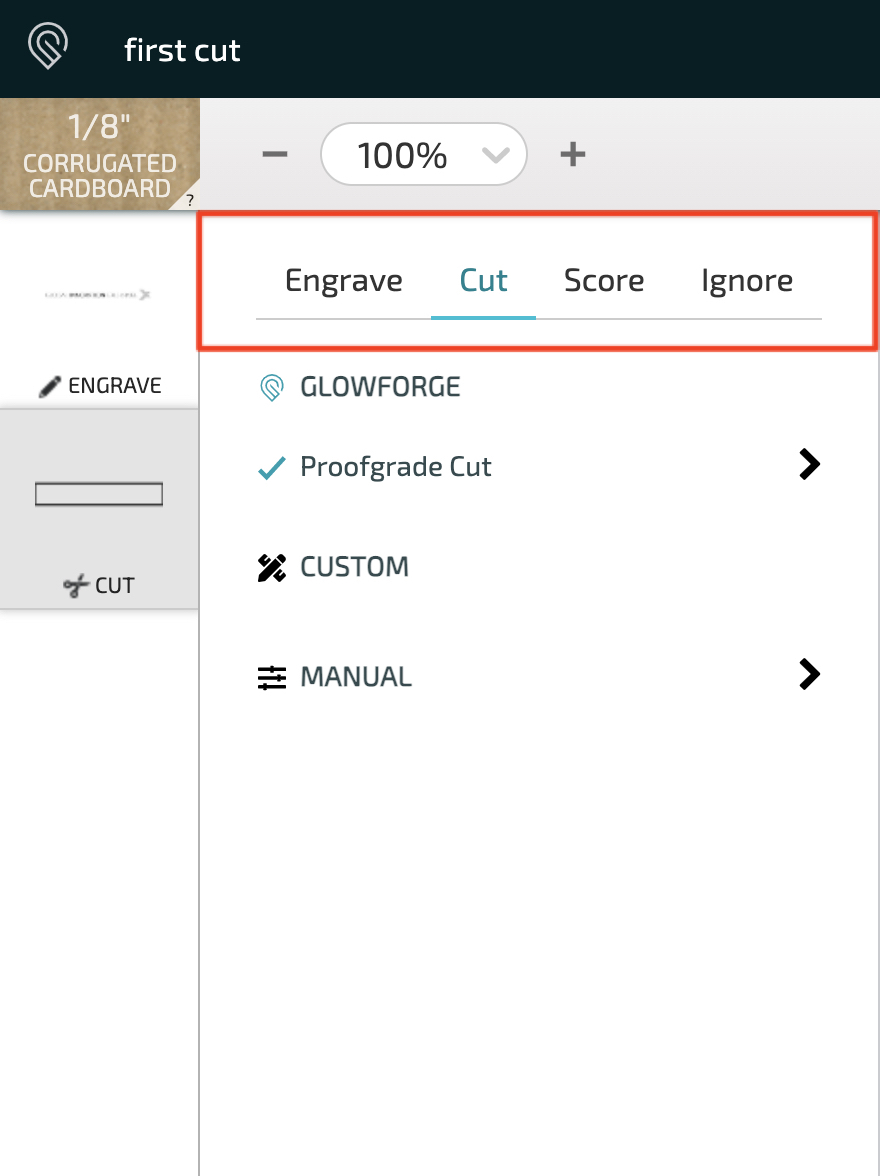
Changing Cut Settings
- On the lefthand side you can click on the item you want to change the settings for from engrave, score, or cut. You do not need to mess with Power and Speed settings. If you see those, just press Back.
Changing Cut Order
- You can change the order of the engrave or cut by hovering over the item on the lefthand side and dragging it. Always place the outer border cut last.
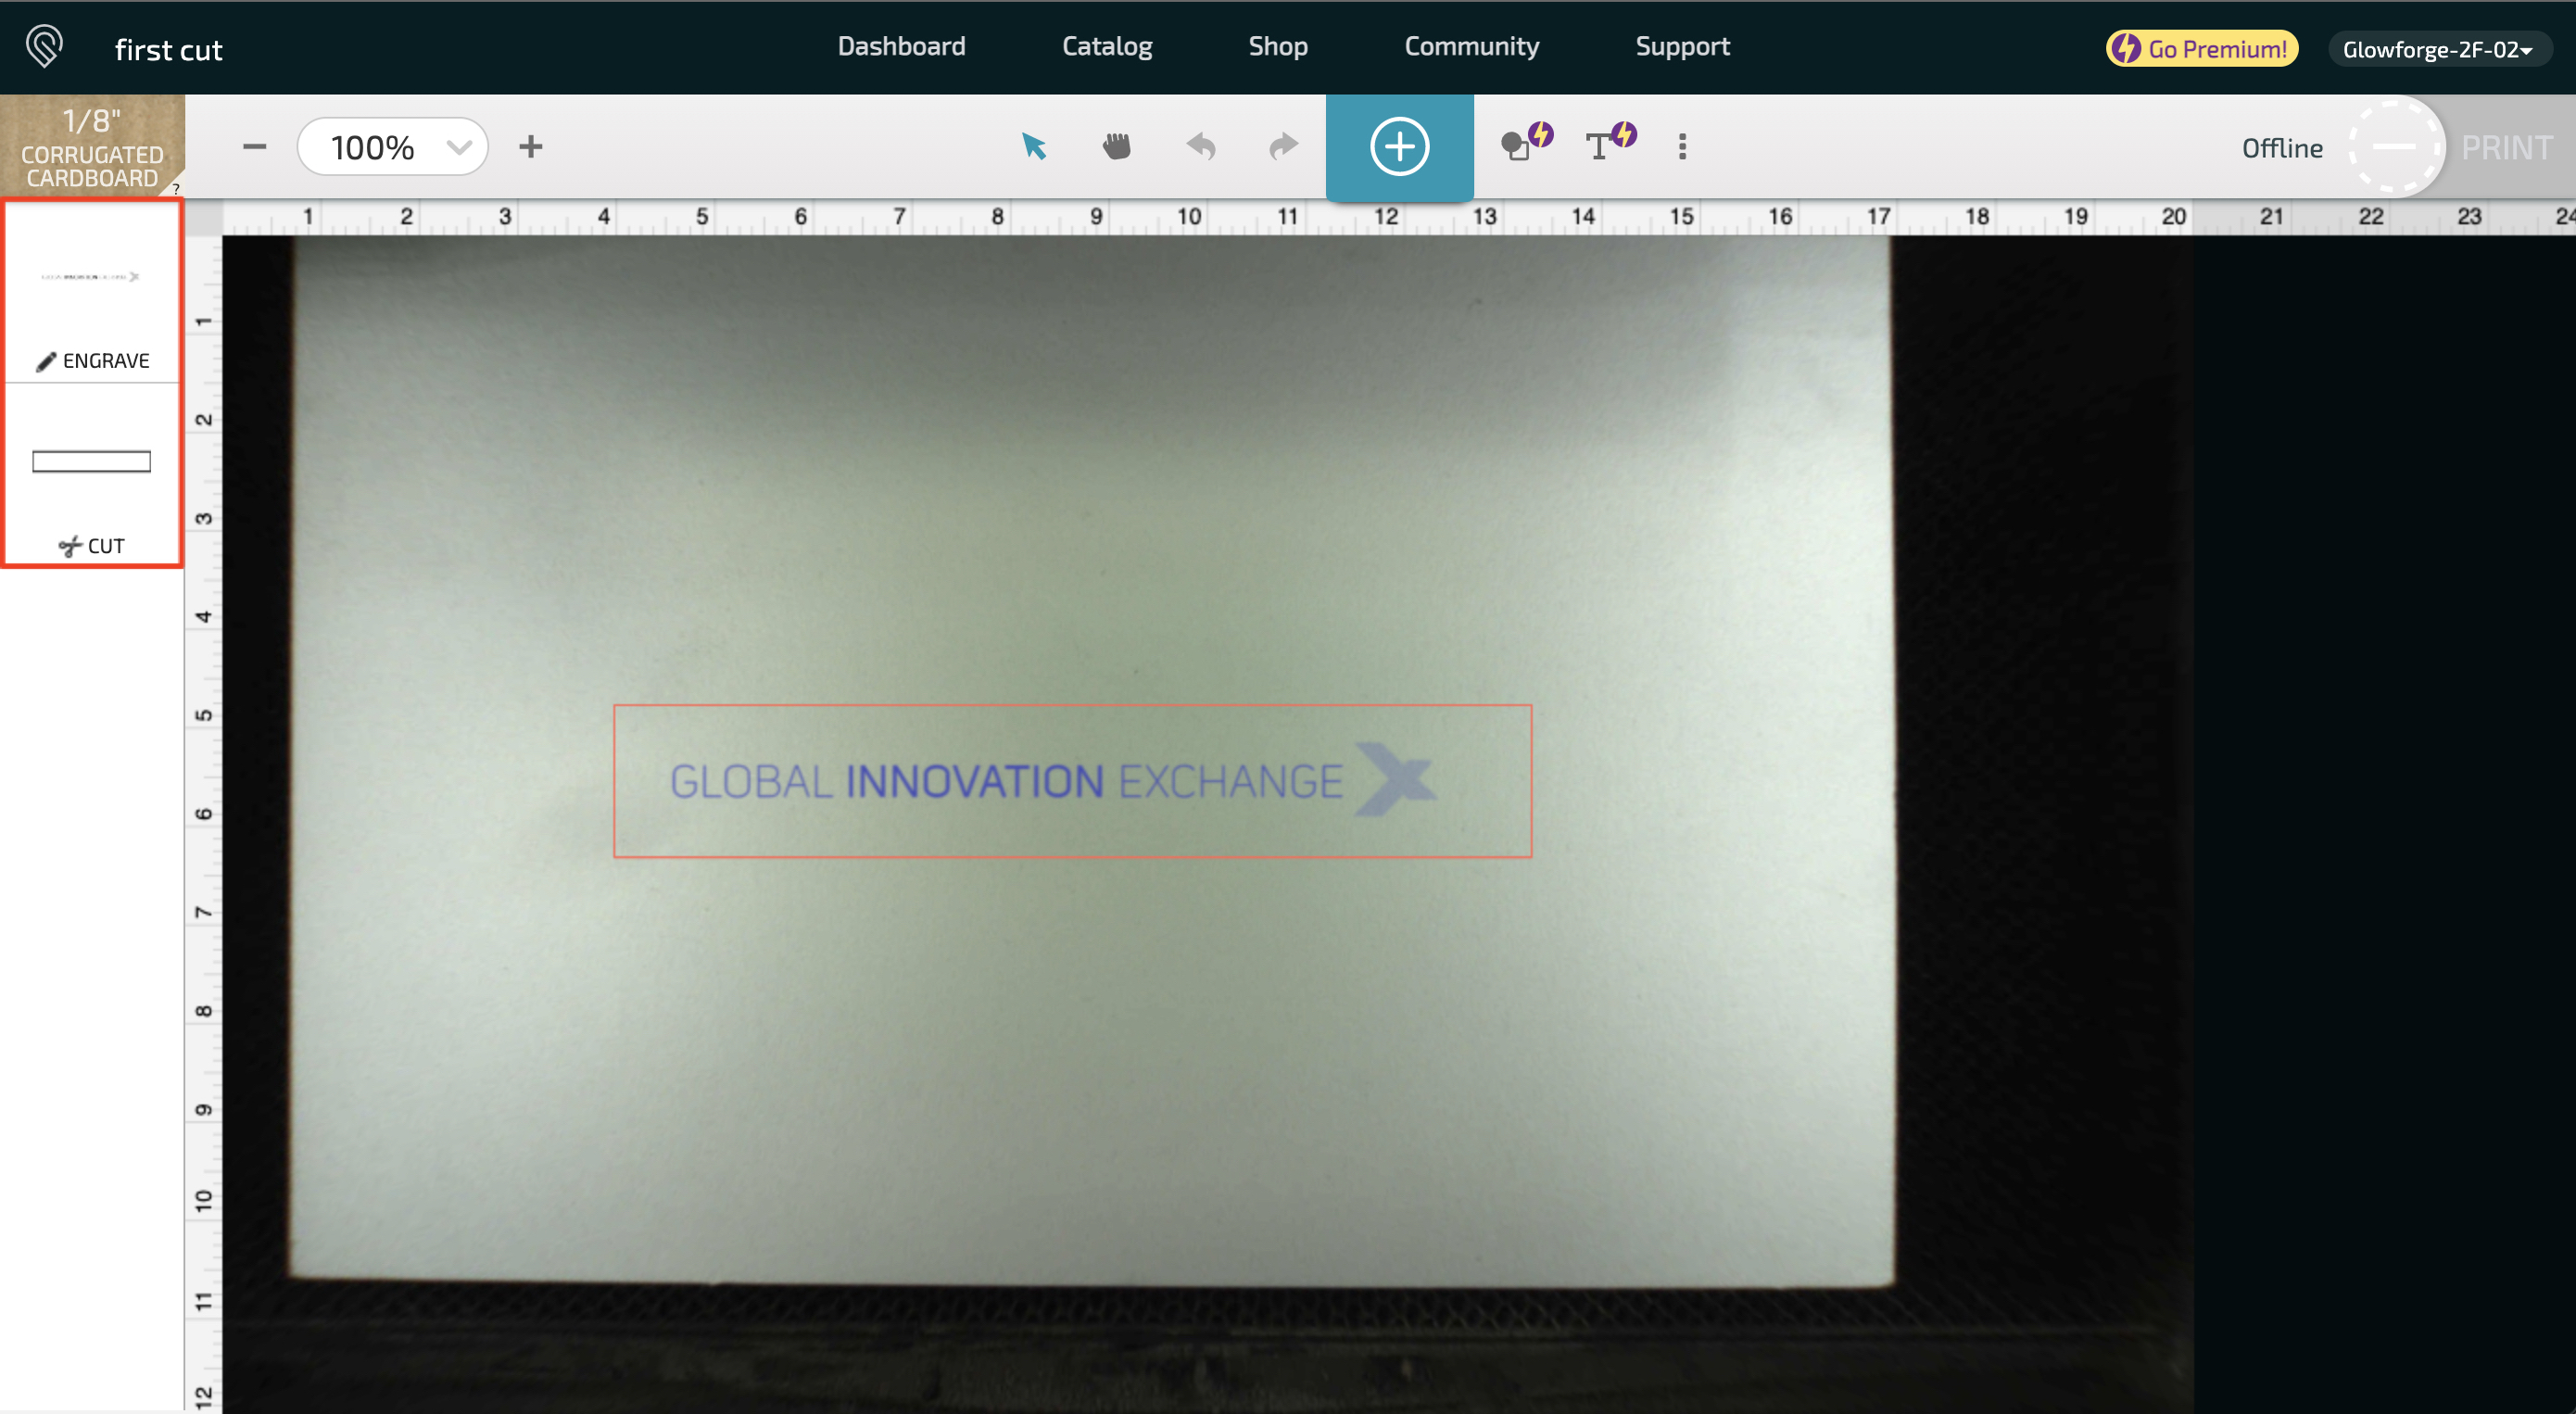
Positioning Your Cut
- To change the positioning of the artwork select the artwork and drag it to the area where you want to cut it.
- You are able to rotate and scale your artwork as well.
- If the Print button still says “No Artwork,” you will need to move your artwork closer to the center of the bed.
NOTE: This will help you maximize the space left for other cuts. DON’T PUT YOUR CUT IN THE CENTER OF A FRESH SHEET OF MATERIAL. Place it near the edges so others can use the remainder of that sheet. Leave a little room around the edge (1/8” or 3 mm) for camera positioning error.
Cutting Your First Design
- Go to the upper right corner and click on Print.
- The first time you print, it will give you some safety warnings, which should match our rules, and a warning about no Proofgrade materials, which you can ignore. Your download bar might obscure the “I understand” button.
- Once you have done that and you see the provided estimated time of your cut, you will see the button on the Glowforge machine blink. Press on the button and watch the laser do your cut.
Removing Your Work
- Once the fan has stopped running, you can open the lid and remove your finished part.
Congratulations! You have done your first cut on the Glowforge! 🎉
For Standard Operating Procedures for the Glowforge Basics, see our SOP Document.