Your First 3D Print
Before You Print
You will need to download and install Ultimaker Cura. The latest version can be found here.
NOTE: you do not have to sign up for an account.
You will also need a file to print. We suggest this GIX keychain. You can find something from Thingiverse.com or design something in your CAD package of choice (the Prototyping Labs uses Fusion 360), but we recommend the keychain to start.
Set Up Cura
Install Cura with the default settings. When you get to the section to add a printer, select “Add a non-networked printer” and choose “Ultimaker 3 Extended”. 
Import Your Model
Load the file in Cura. Do this by going to File->Open File(s)…-><PATH_TO_YOUR_FILE>.  Cura will import your model in whatever orientation it had in your CAD program. This may not always be the best orientation to print it with. If you’d like to change the orientation and placement of your model, click on the model to enable a toolbar on the left side of the UI. Here you can move, scale, rotate, and mirror the model along with some advanced options when printing from multiple files. Selecting the right orientation for your model is one of the biggest factors in determining it’s print time, surface finish, and strength. We’ll learn more about it one of the other tutorials. For now, if you’re printing the keychain, leave the default orientation as-is.
Select Slicer Settings
Cura is a slicing program, meaning that it takes a solid object from a CAD program and slices it into many thin layers that our printers can understand. They print by laying down one thin layer at a time, moving the print bed by a fraction of a millimeter, and then laying down the next layer on top of the previous one. We’ll learn more in the future about how to select all of the slicing parameters for the right mix of print time and print quality but we’ll just go over the basics for now.
Change the layer height to .2 mm. This greatly reduces the time it takes to print your model while having the slight trade off that the lines between layers are a little bit more visible. 
Check the box to enable supports. Supports are breakaway pieces generated by Cura whenever a model has an overhang where the plastic would sag otherwise. Although this model does not need supports, it is best to leave this option checked to prevent many failed prints in the future. 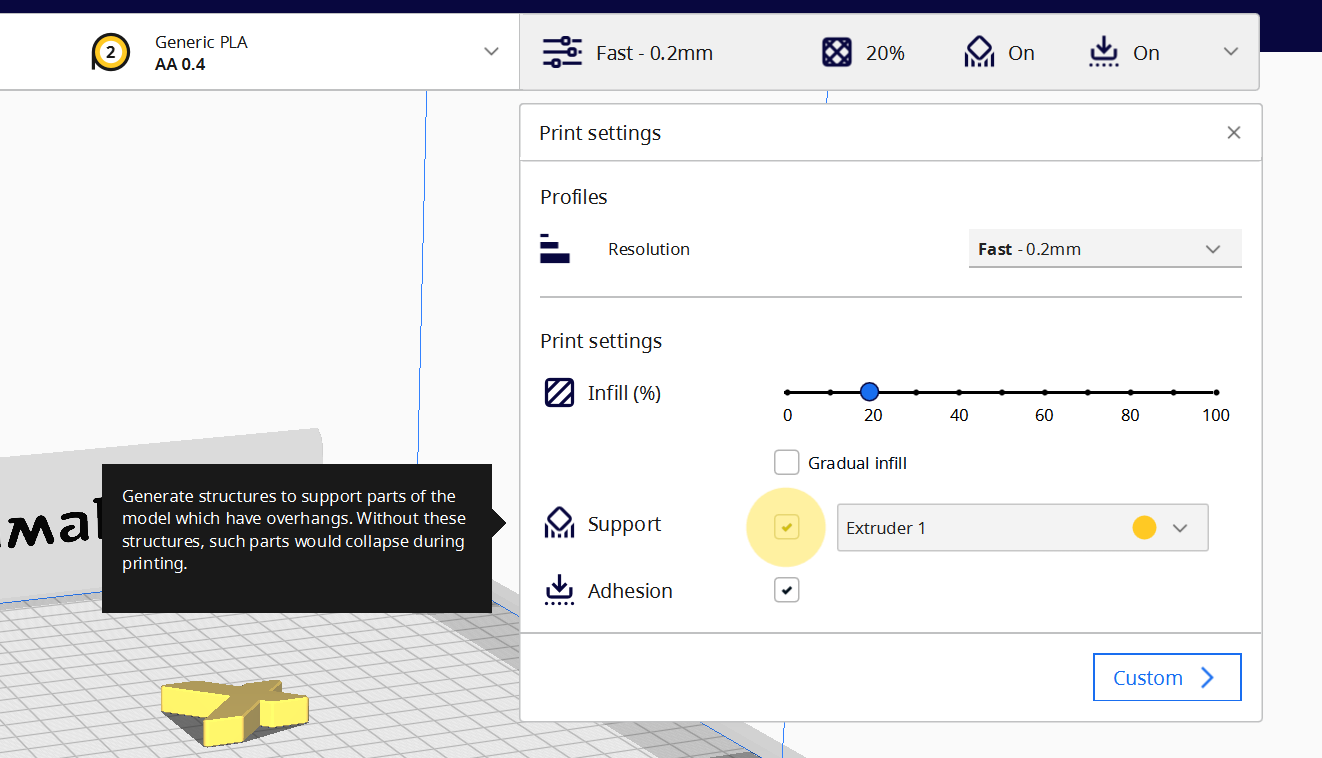
Click Slice. 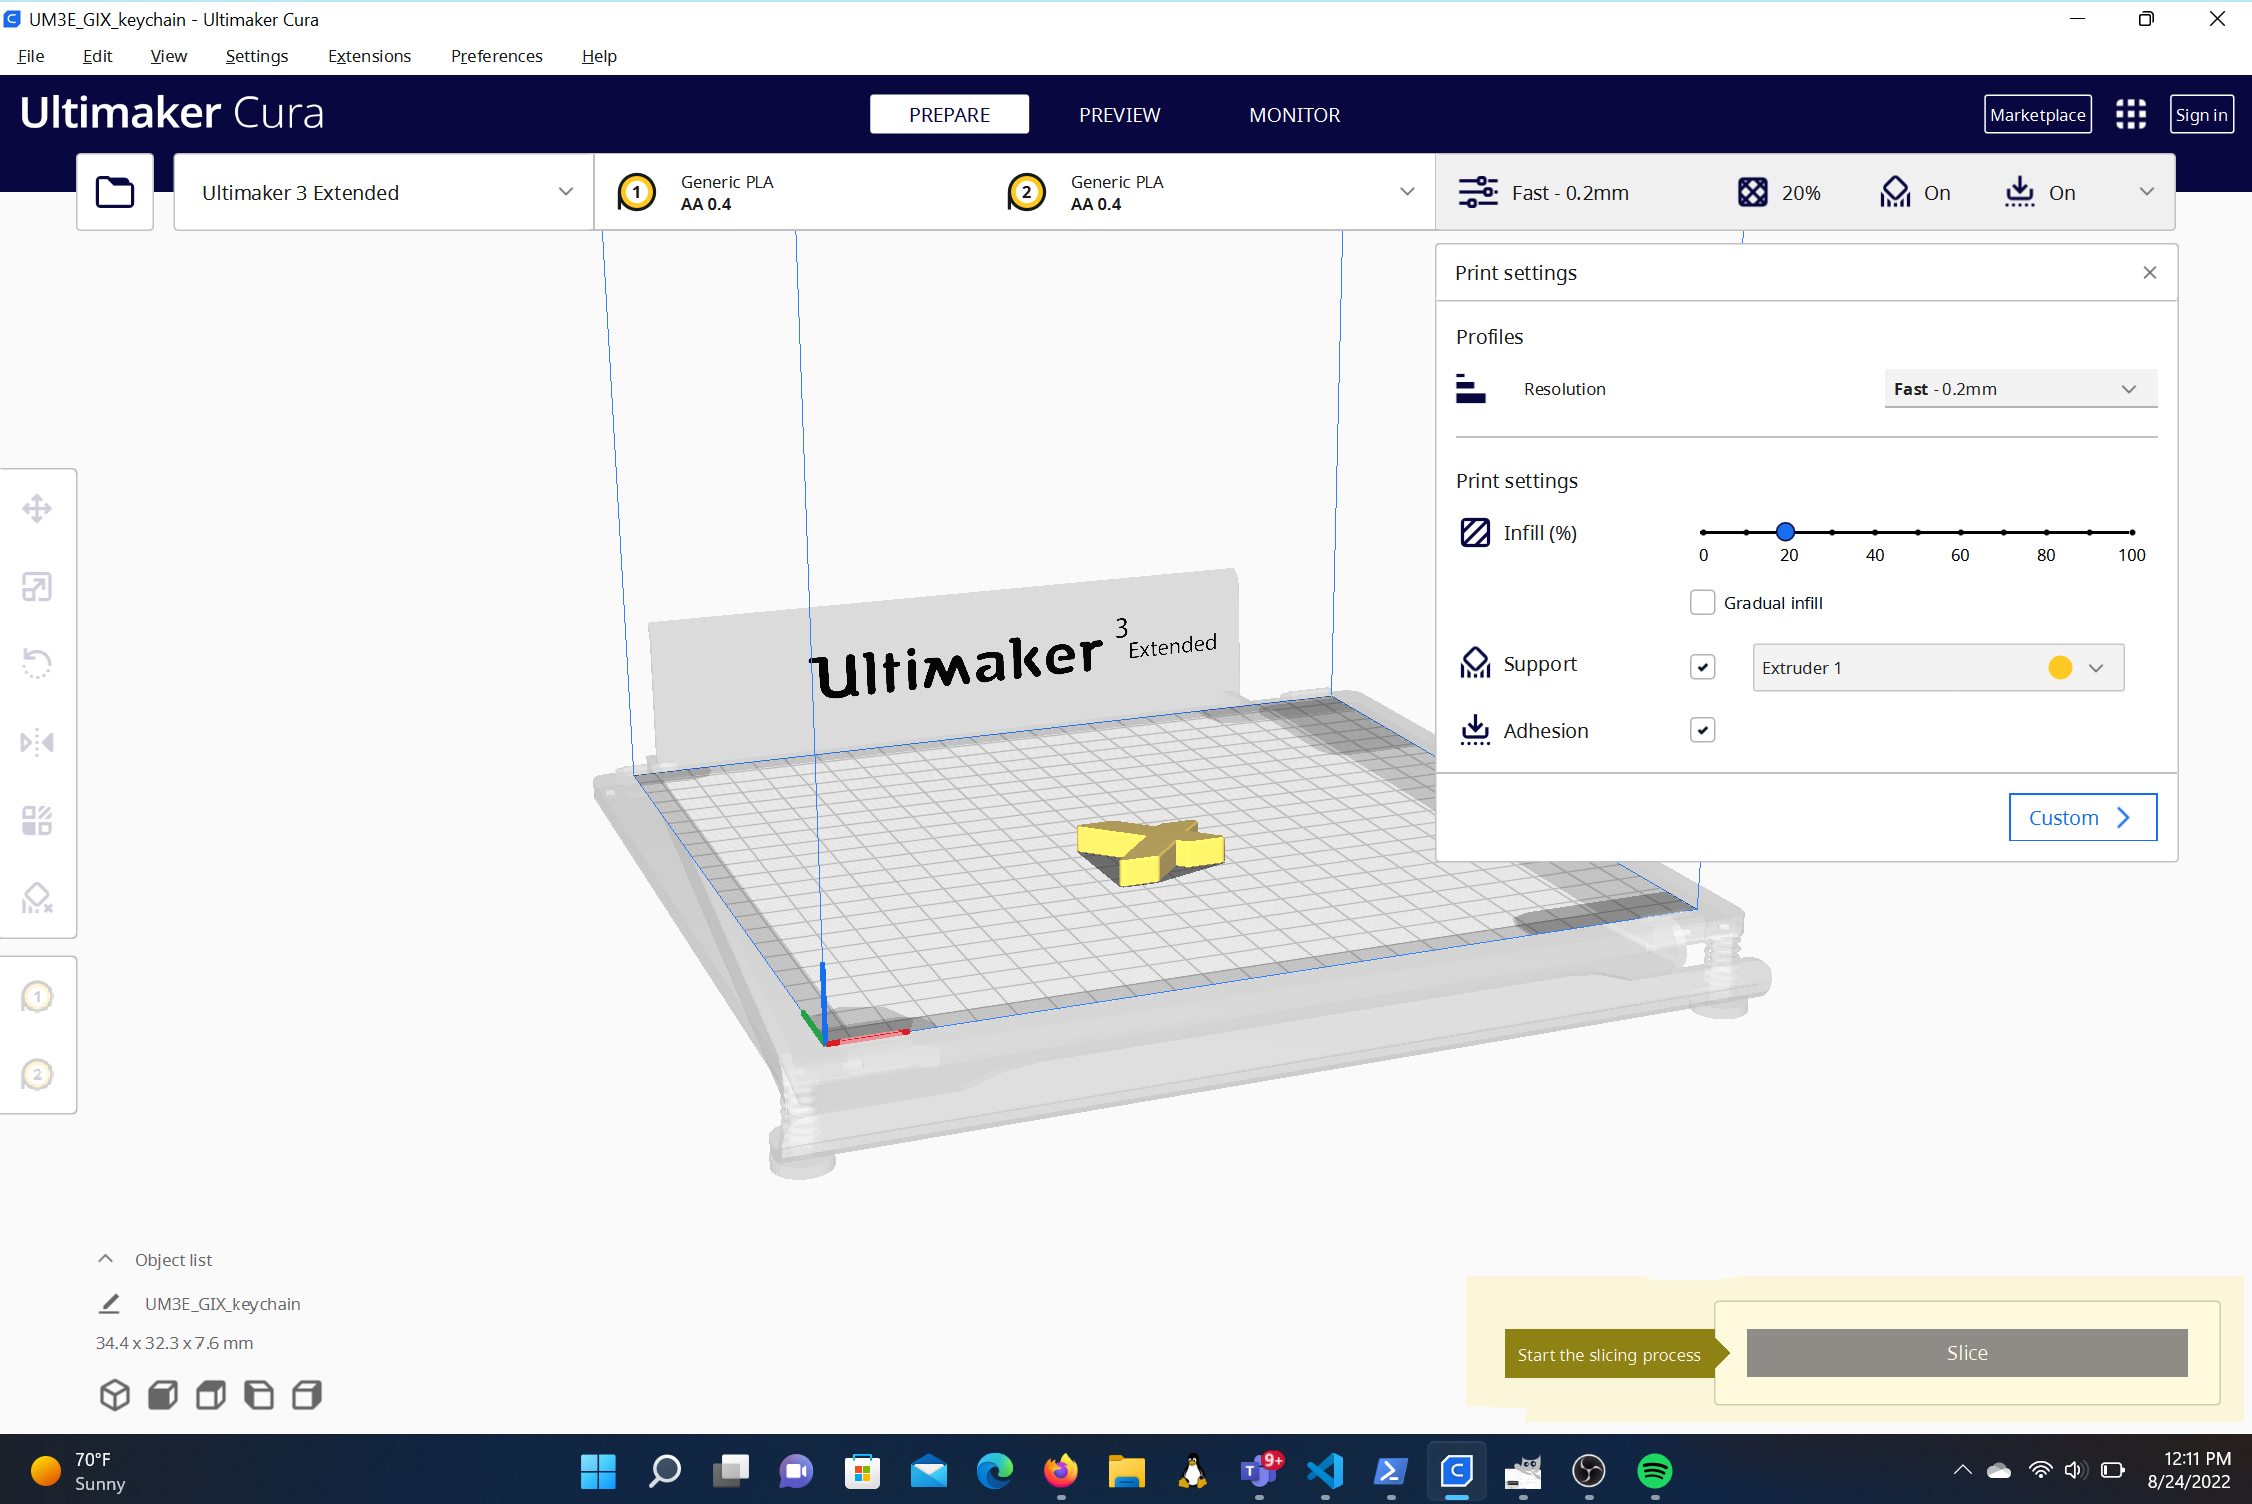
Save the sliced file to a thumb drive. Spare thumb drives are located in an AkroBin in front of the Window to Kevin’s office. 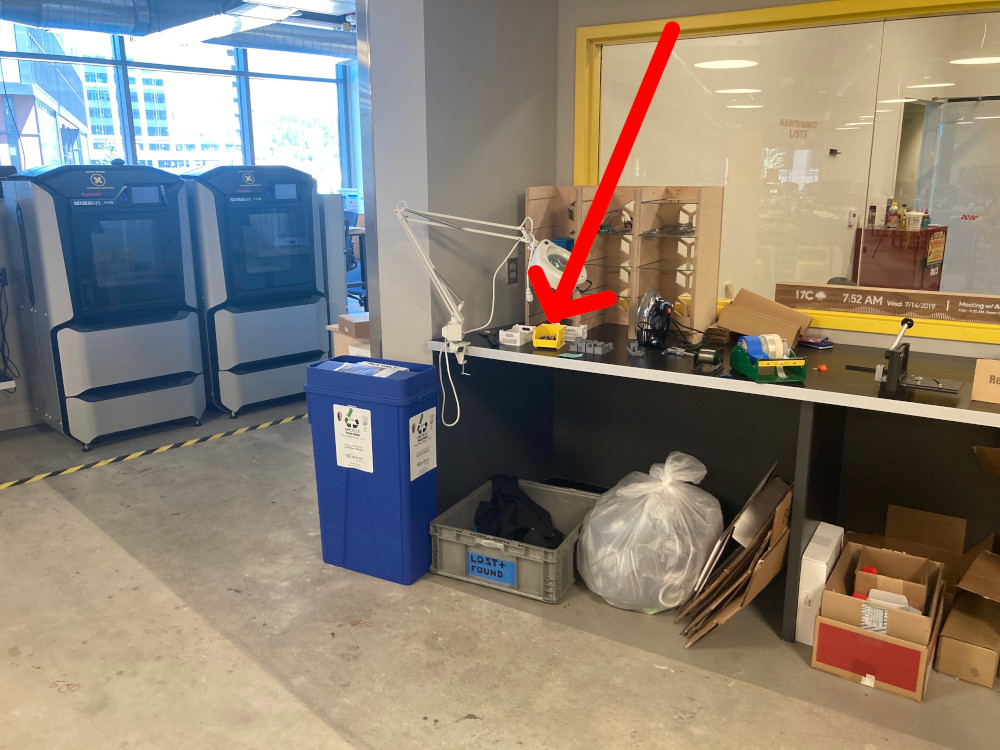
Load Your File on a Printer
Find an available printer. Clear the error message (if any) on the printer. Select Print, then your file should be the top one. 
Finishing Up
Wait for the bed to cool, then the part should pop off the bed with little effort.  If the bed is still hot, the part can feel as if it’s suctioned to the bed. Just give it a little time. If it’s still stuck after the bed is room temperature, a crew member can show you how to use a scraper to get the print off.
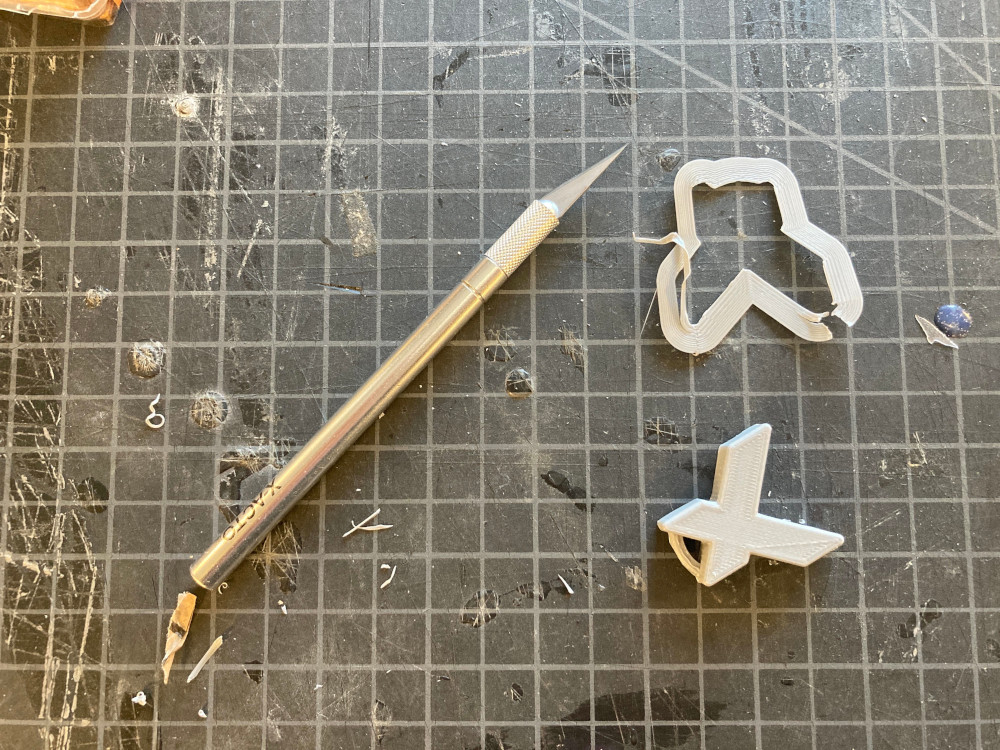 There’s generally a little post-processing with prints - normally removing support materal and brims that were added for bed plate adhesion. If your part is printed with PLA, the default material loaded in the Ultimakers, then you can recycle this material in a bin beneath where you grabbed a thumb drive from.