Making a nametag using Inkscape and Glowforge
Two Rules of the Glowforge (or any laser)
- Don’t leave cuts unattended.
- Talk to staff before using your own materials.
New to Glowforge?
If you haven’t used the Glowforge yet, click here to learn how to use the Glowforge.
Download Inkscape
If you don’t already have Inkscape installed on your computer, click here to download.

Download the Name Tag template
Open the Template File
- Use File -> Open and navigate to your download folder. Select the template file and click ‘Open’.
Use the text tool to add your name to the template
-
You can either select the ‘Text’ tool on the left side tool panel, or use the default keyboard shortcut ‘T’ to activate the tool.
-
In the upper left corner you will see a drop down where you can select the font, font type, and font size. Typically it is reccomended to use a bold font as it helps with pathing and etching.
-
Once you click on the page, you can type your name. After you’ve typed your name hit the escape key a few times to exit the text tool and reselect the ‘select’ tool
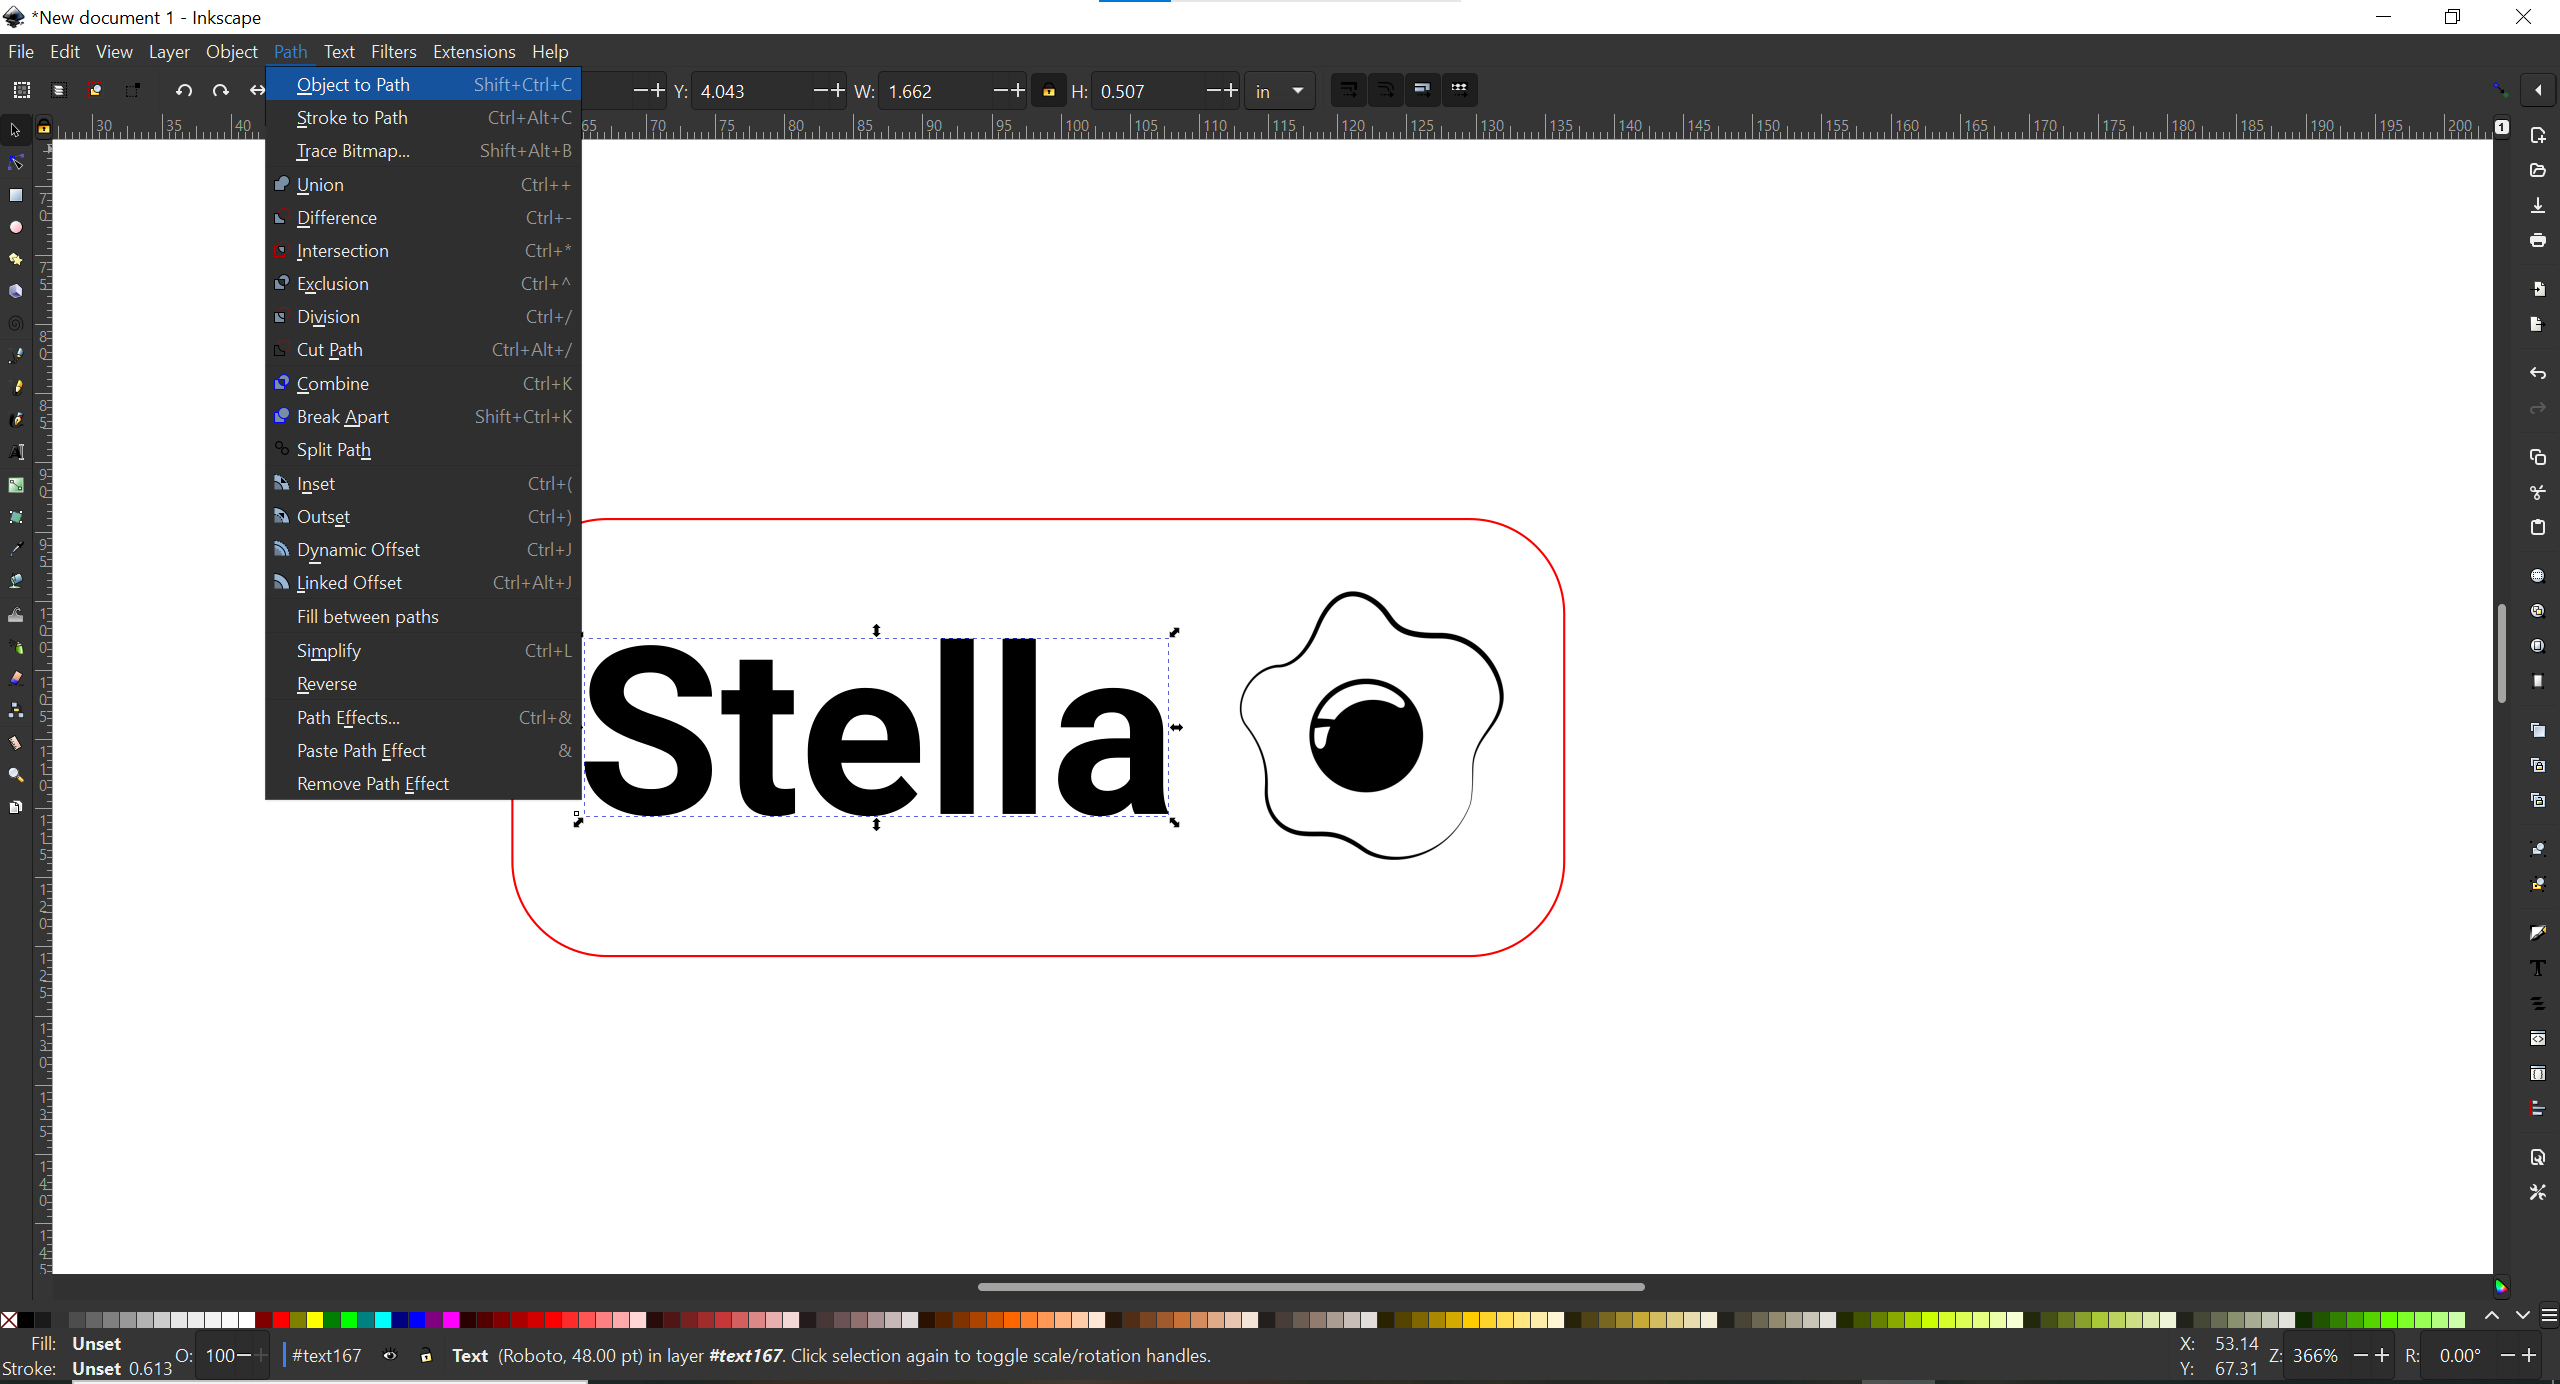
Object Path
- With the text selected, use the ‘Object’ drop down menu to select ‘Object Path’. This will allow Glowforge’s software to detect the edges of the text.
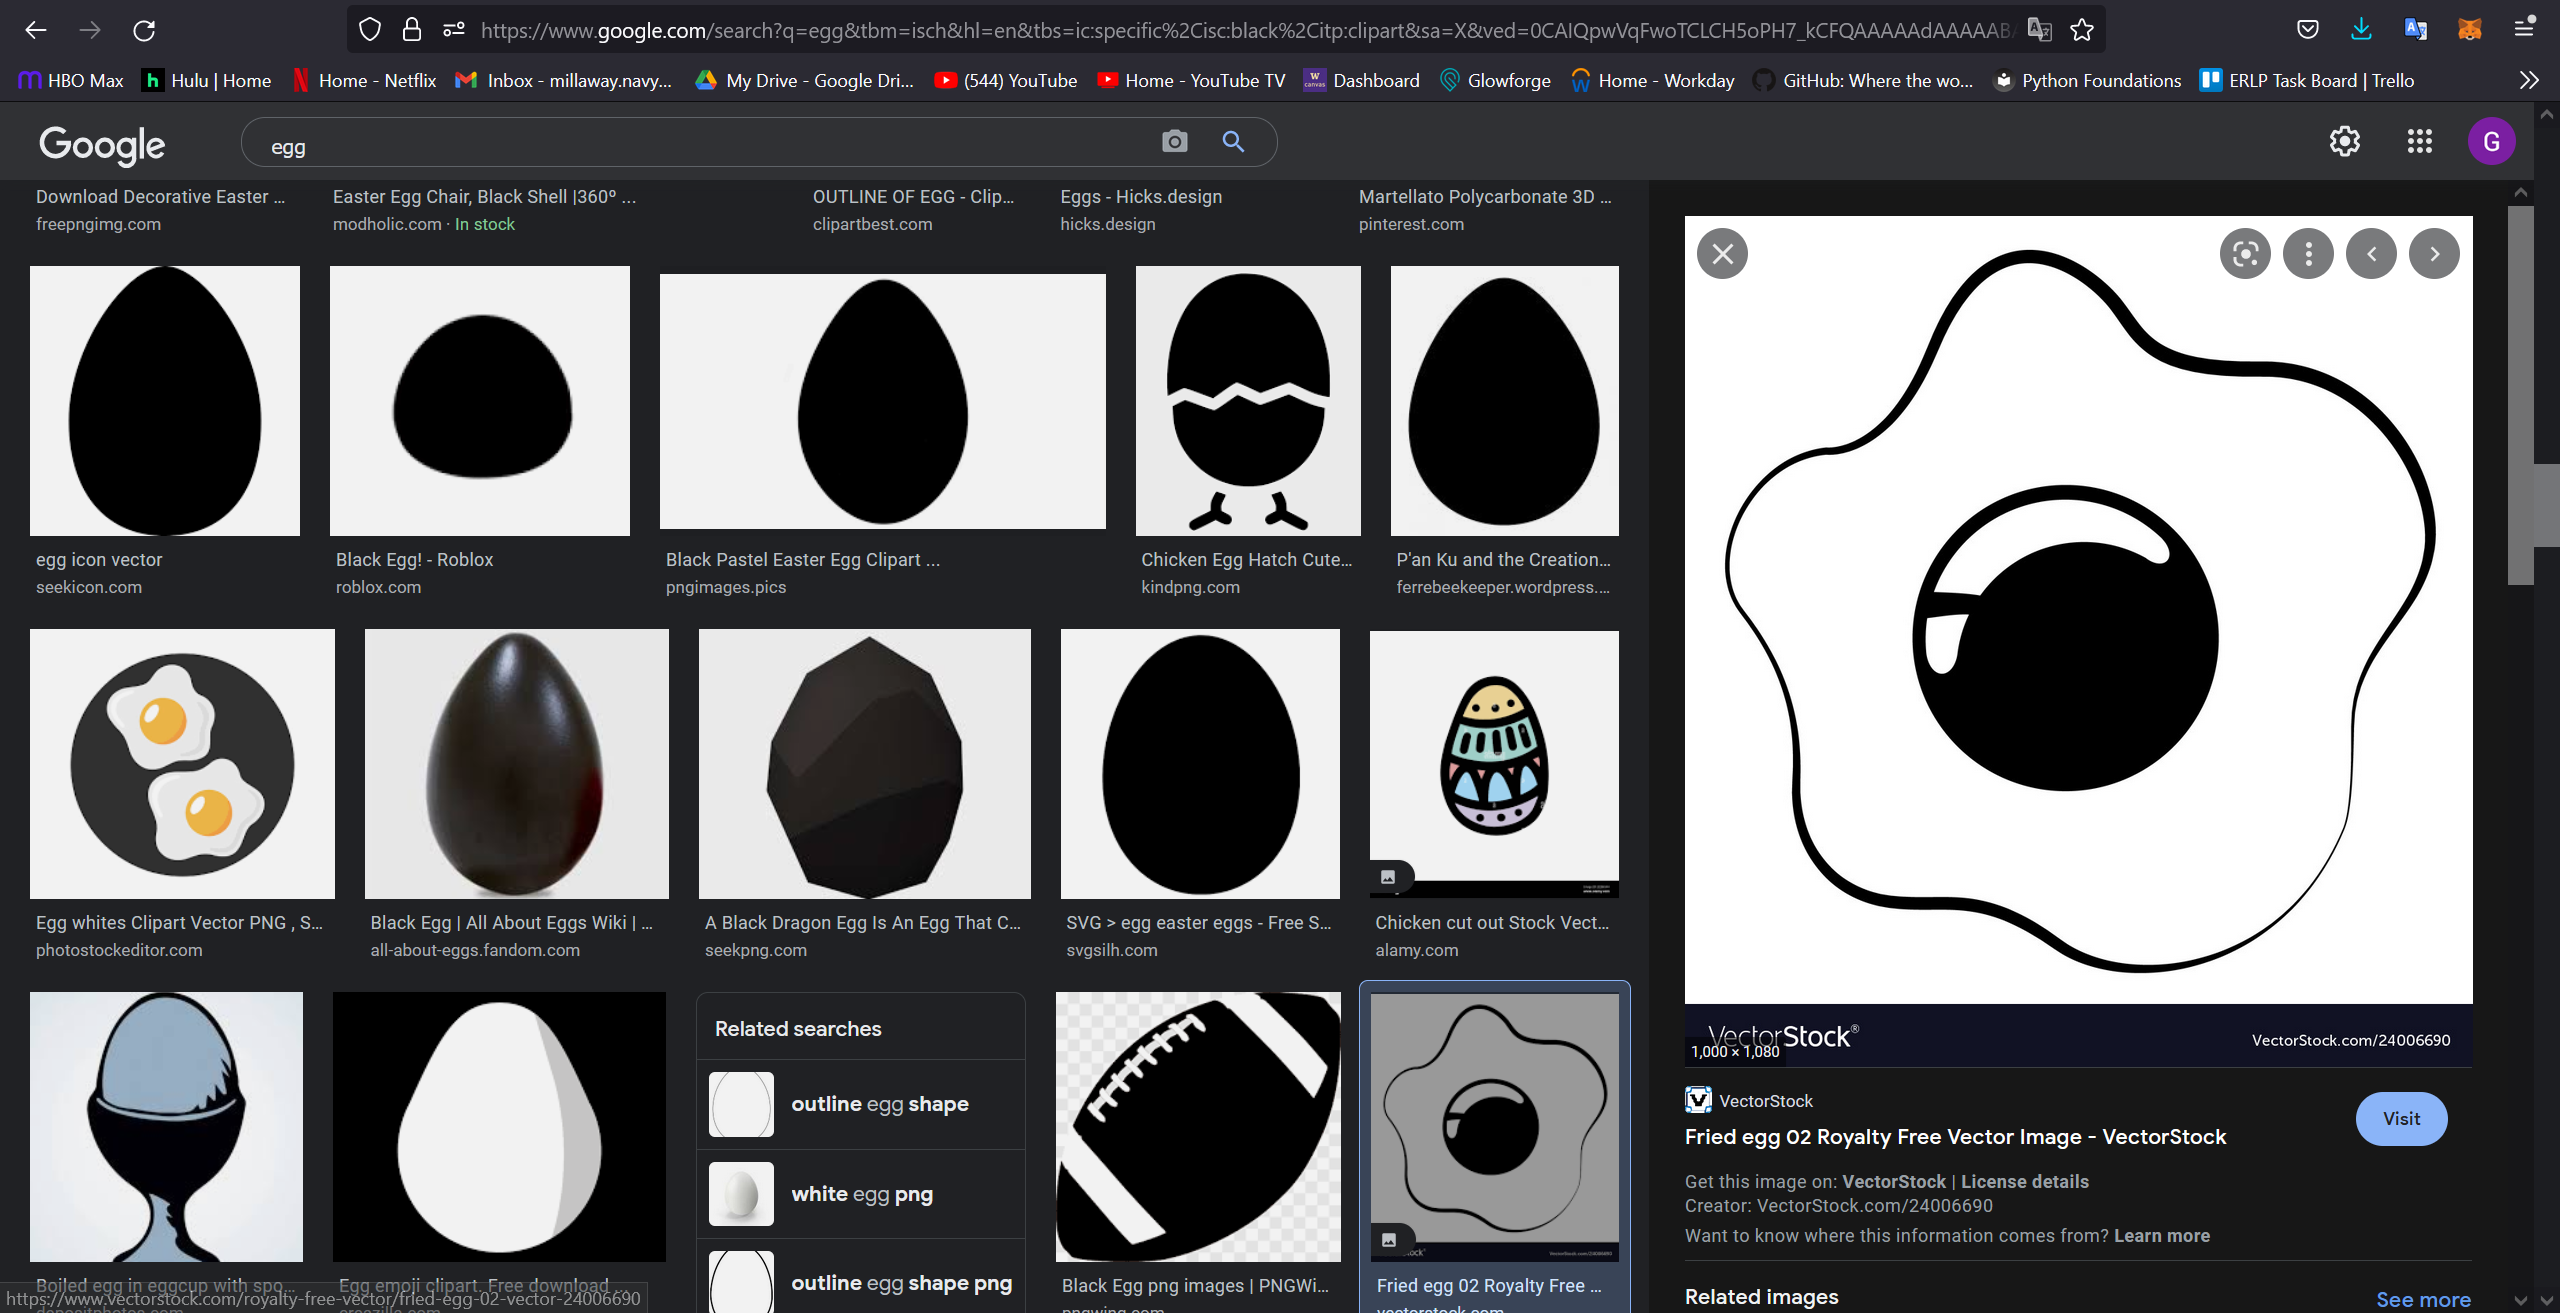
Bonus: Add a graphic
- If you’d like to add a graphic to your image, it is reccomended that you look for vector graphics or clip art that is black and white.
Save file, export as SVG
-
Use File -> Save to save a local version of your Inkscape file to your computer. Be sure to rename the file so you don’t overwrite the template.
-
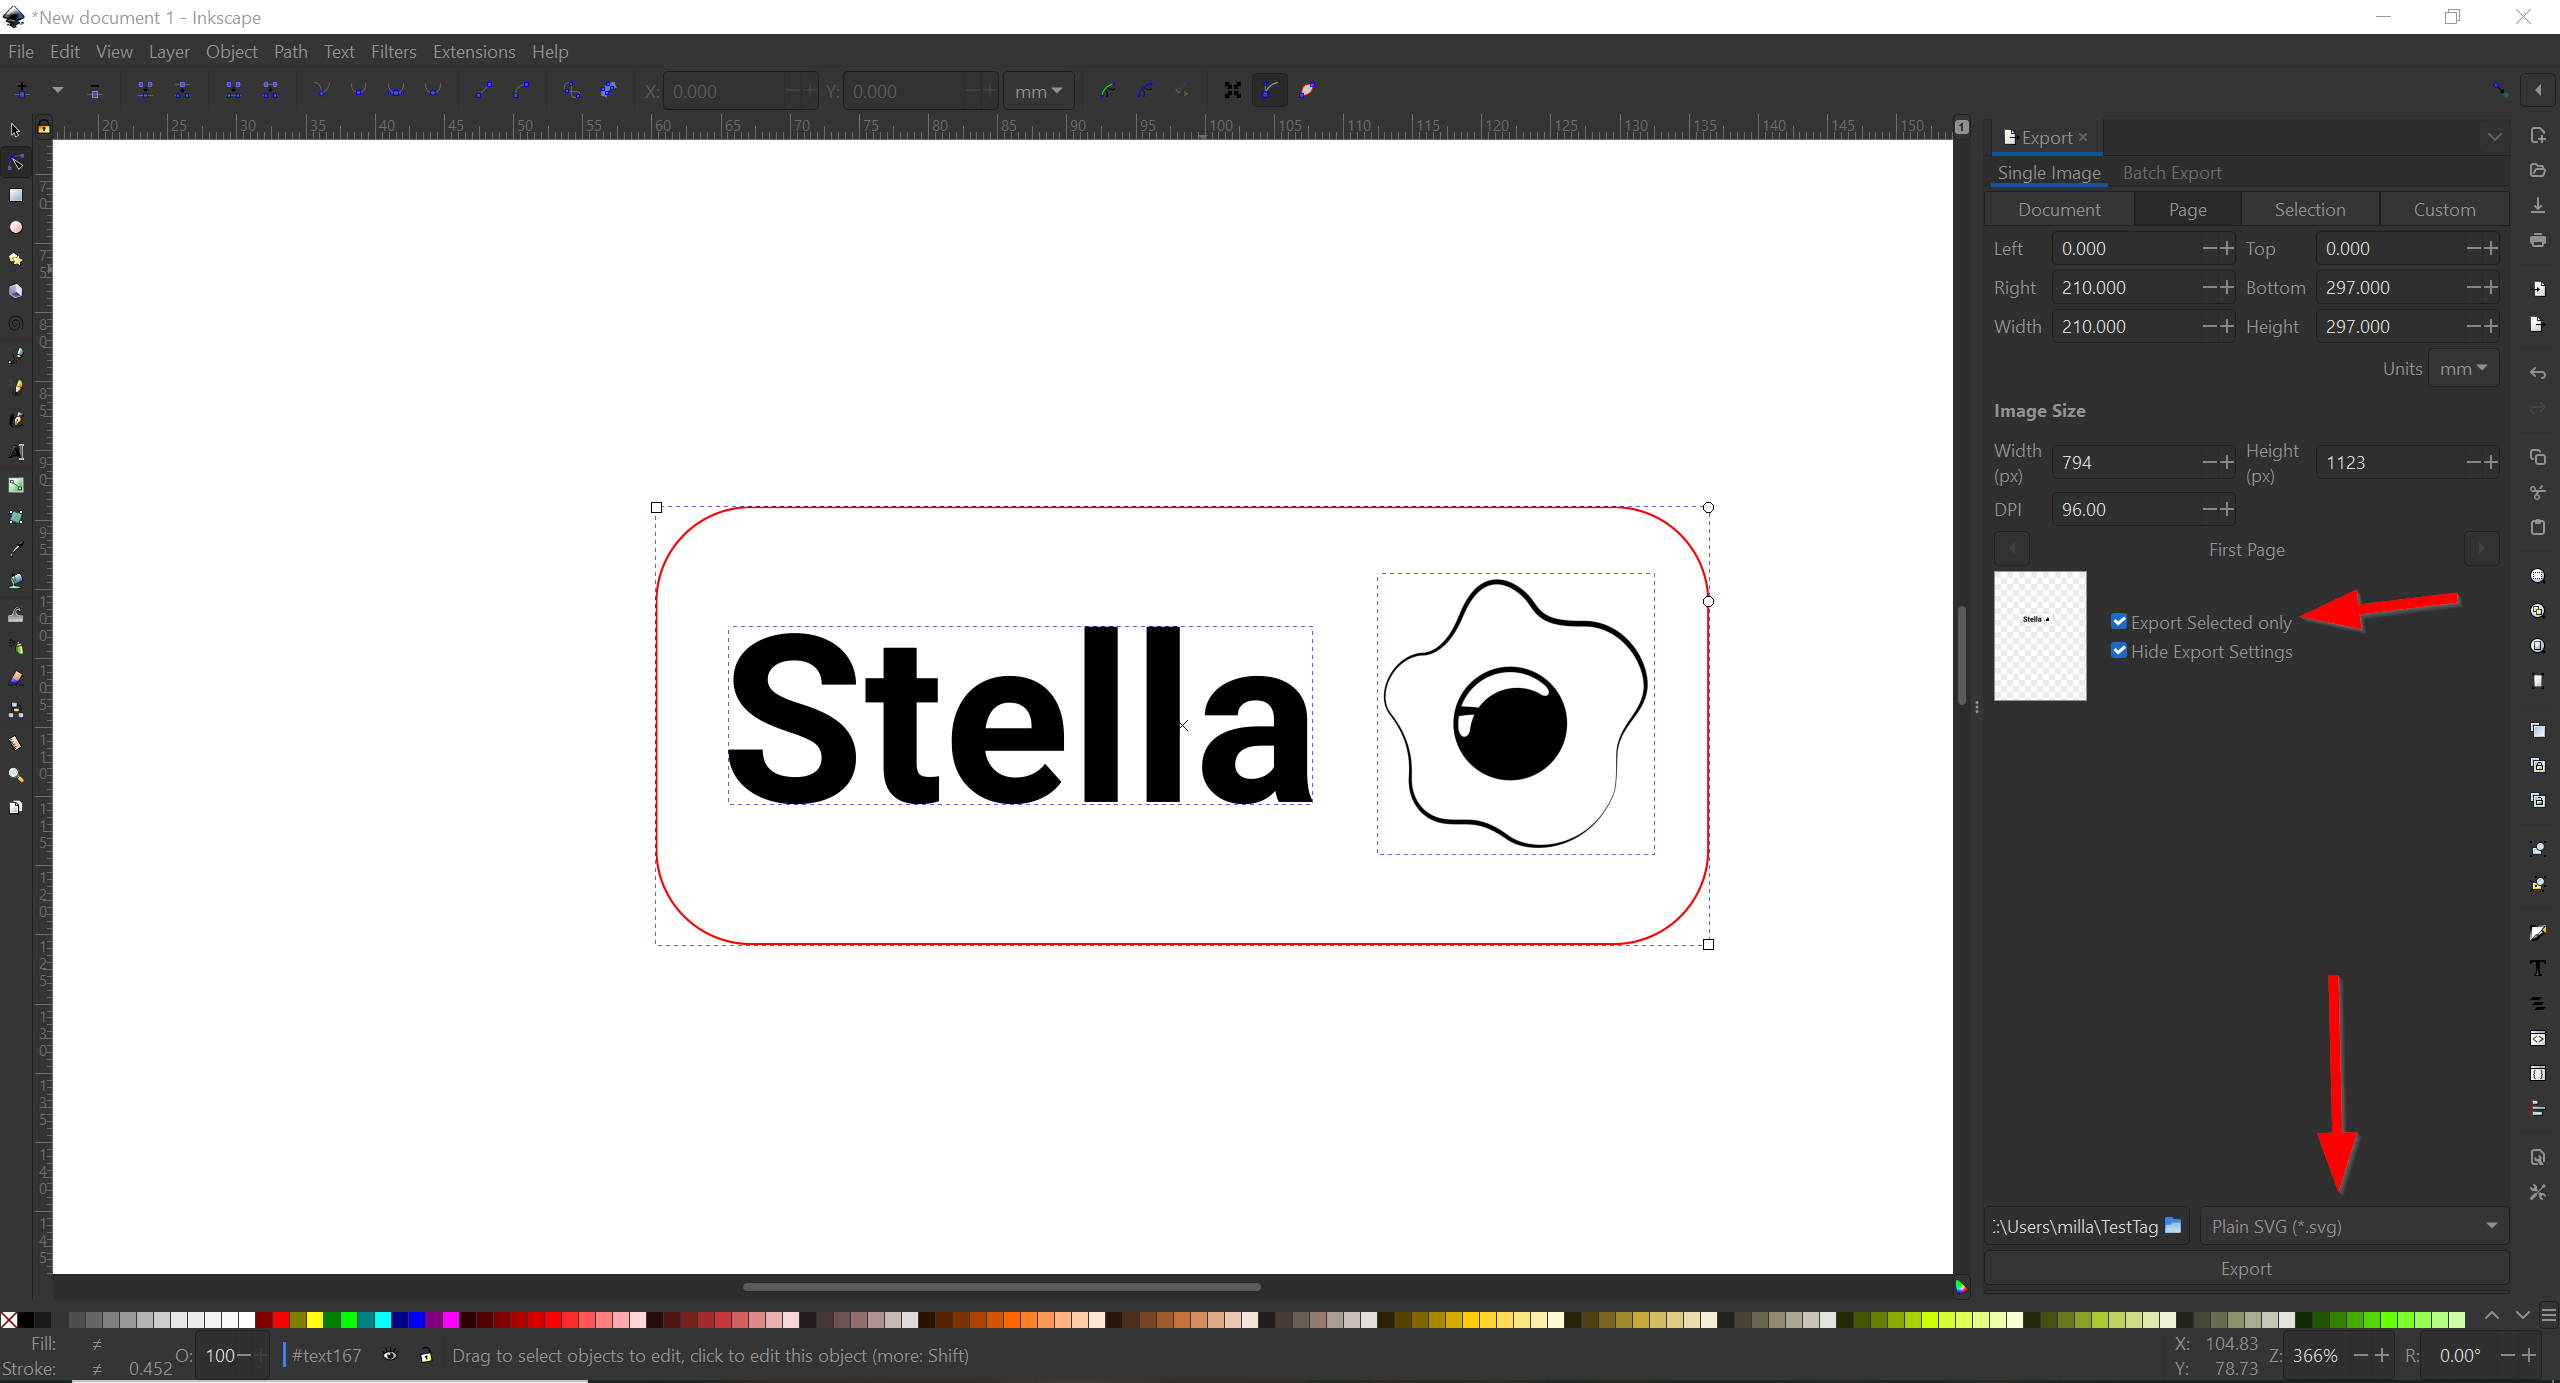
With all contents of the name tag selected, use File -> Export to open the export window on the right side of the page. Then, check the box ‘Export Selected Only’, and select ‘Plain SVG’ from the file type drop down. Last, change the file export path if desired and click ‘Export’ at the bottom of the page.
Your name tag is ready to be cut out
- Select the available Glowforge to do your cut.
- Grab a piece of 0.125 inch MDF from the material supplies and place it in the bed of the machine. Try to use a piece that already has a few cuts in it. The length and width of the board do not matter very much as you can scale your design to fit.
- Select Medium Draftwood in the top lefthand corner. You may have to use the search bar to find it.
- You can find the proper settings on this page for all of the other materials in the Prototyping Labs
If you need a refresher on how to laser cut check out the first lasercut page here